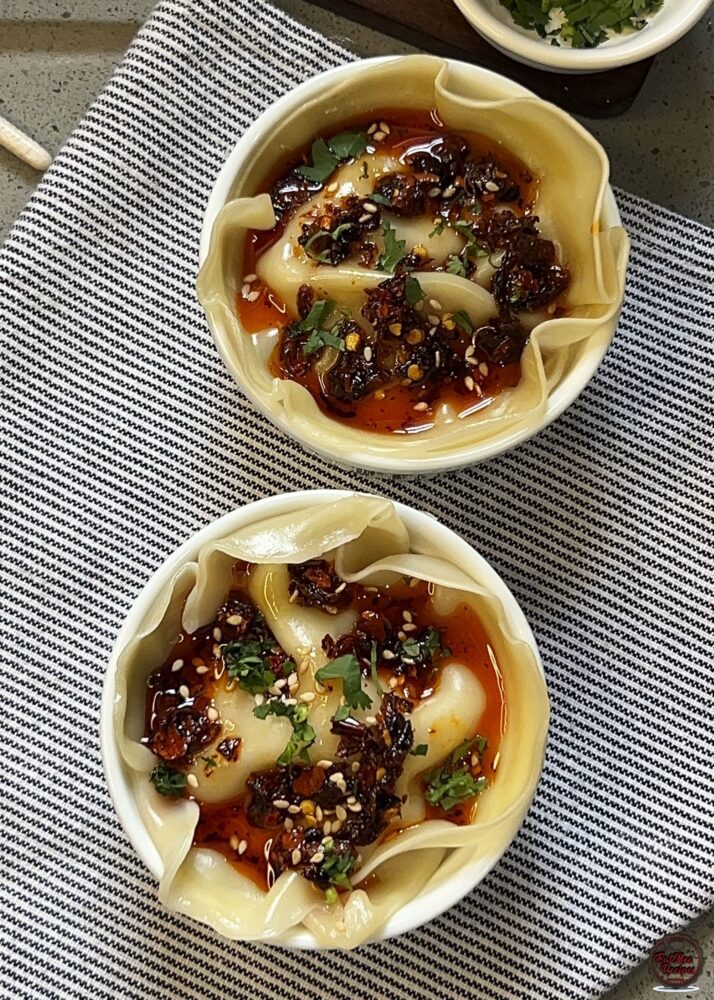
This Recipe Makes ± 30 Dumplings
Chicken Dumplings (Gyoza) – Easy Homemade Recipe with Crispy Bottoms
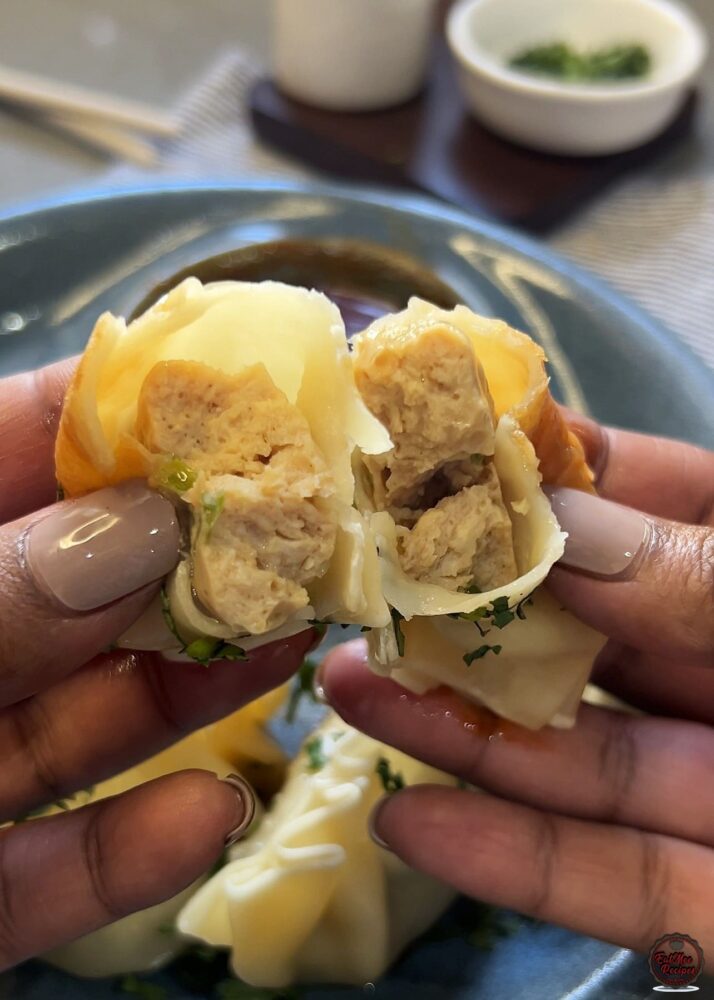
If you’re looking for an easy homemade chicken dumplings recipe, these chicken gyoza are the perfect place to start. Juicy, flavourful filling wrapped in tender dumpling skins, pan-fried until the bottoms turn beautifully crisp, then steamed until perfectly cooked.
Using store-bought wrappers keeps this recipe simple and approachable, making it ideal for weeknight cooking or when you want something comforting and homemade without spending hours in the kitchen.
From my kitchen to yours, these dumplings are always a crowd favourite, they’re warm, satisfying, and impossible to stop at just one.
What Are Chicken Gyoza?
Gyoza are Japanese-style dumplings, known for their thin wrappers, juicy filling, and signature crispy-bottom pan-fry method. They’re inspired by Chinese potstickers and are traditionally cooked by frying first, then steaming in the same pan.
This chicken version is lighter than pork but still tender, juicy, and packed with flavour.
Why You’ll Love This Recipe
-
Easy homemade dumplings with store-bought wrappers
-
Crispy golden bottoms with tender filling
-
Beginner-friendly method
-
Freezer-friendly for later
-
Perfect as a snack, starter, or light meal
Step-by-Step Instructions
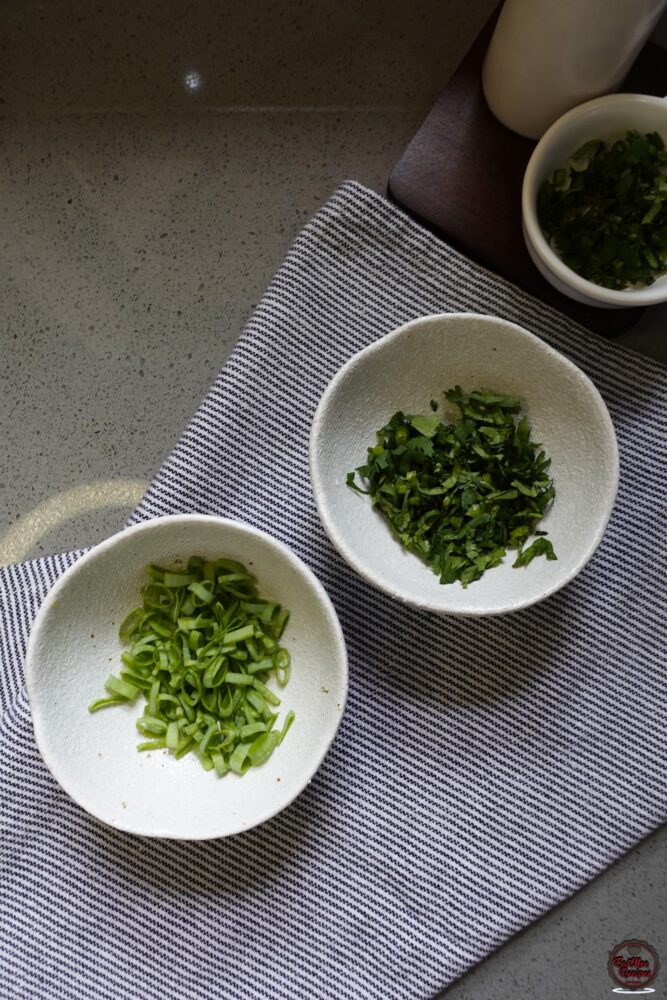
Start by finely chopping the coriander (dhania) and spring onions (make sure they are very dry after washing).
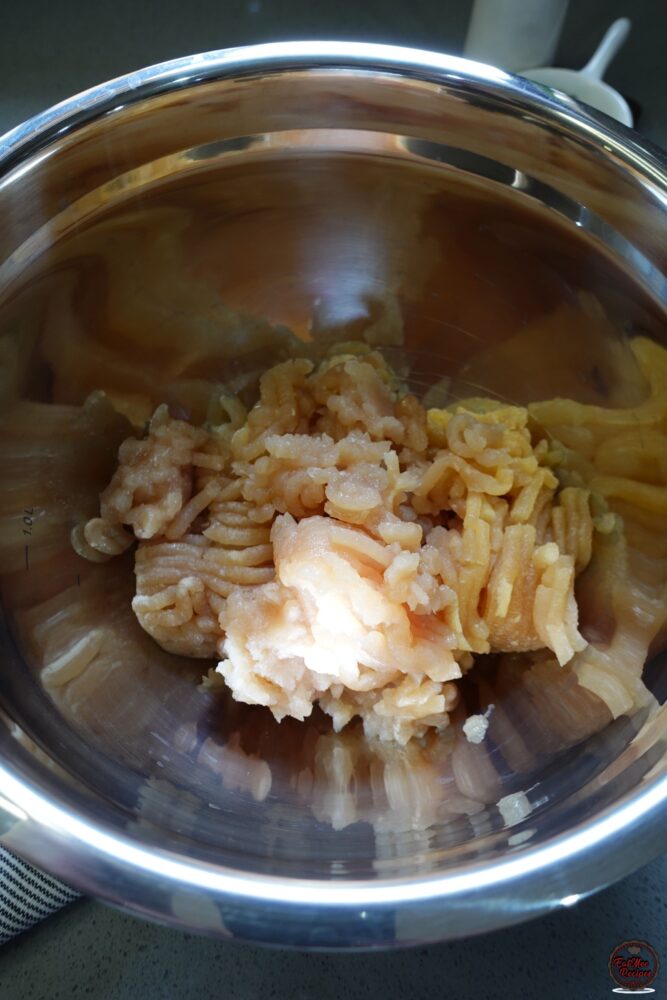
Add the chicken mince to a bowl.
Then add in the coriander, spring onions, ginger and garlic paste, soy sauces, oyster sauce, sesame oil, salt, pepper, corn flour, and a little water.
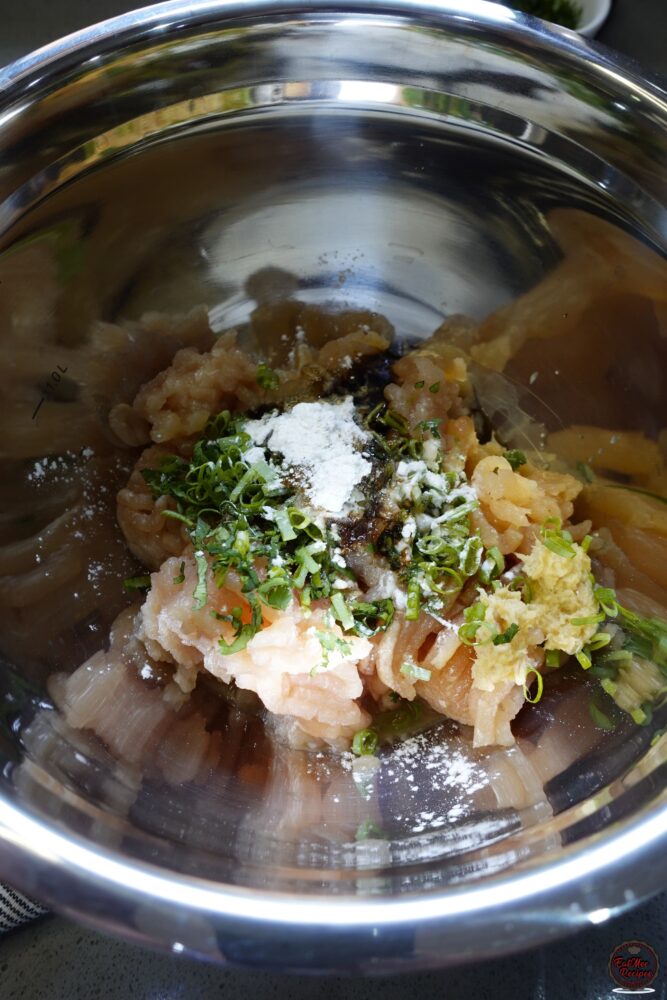
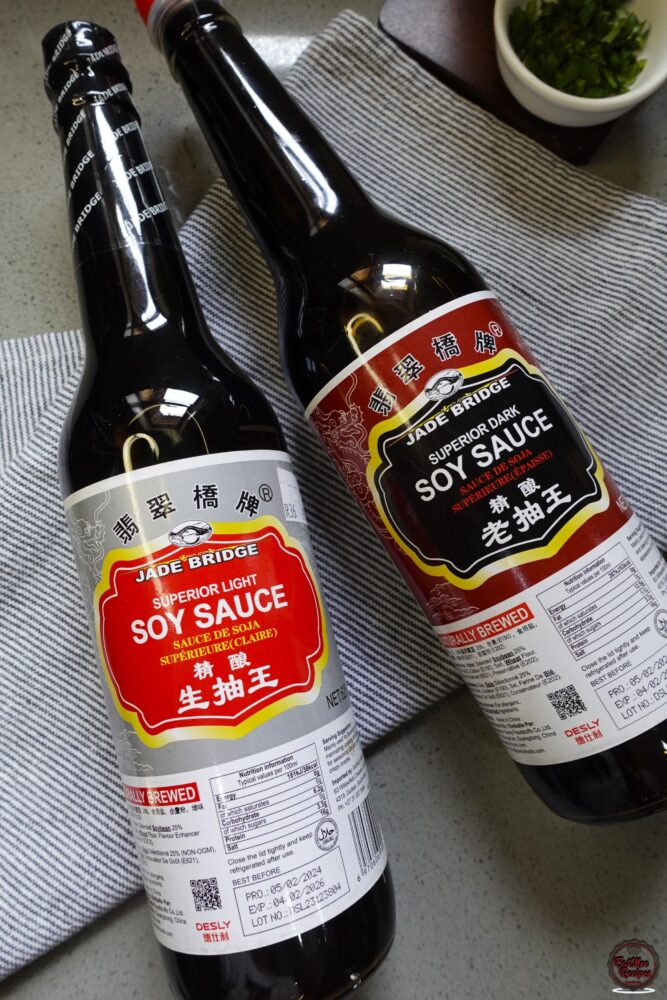
For reference, these are the soy sauces I use. I get them from Gorimas (not sure which other stores stock them) but these are my go to.
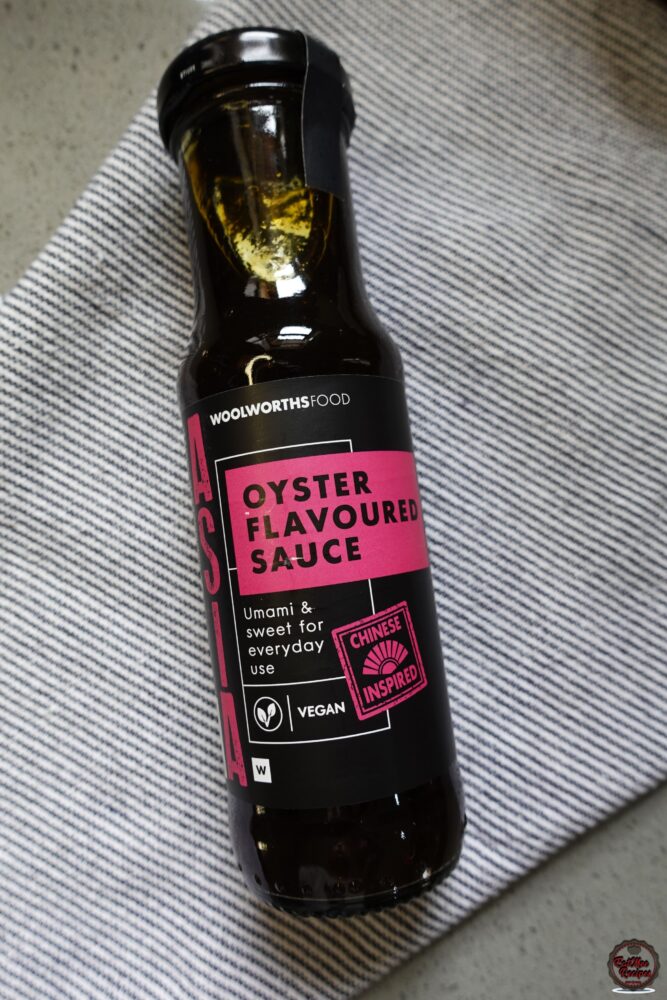
I also use the Woolworths oyster sauce.
Mix everything in one direction until the mixture becomes slightly sticky. This helps the filling bind together and stay tender when cooked.
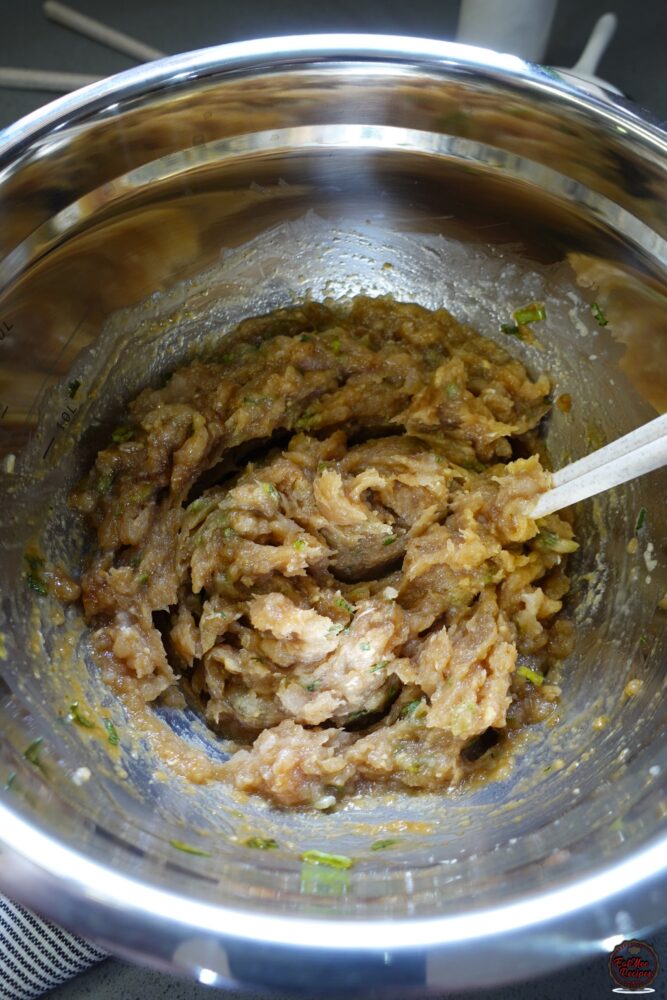
Let the filling rest for 5 minutes so the flavours settle.
I’m using store-bought dumpling wrappers which I found at the local Asian store. These make this dish so much quicker to prepare but feel free to make your own if you have the time.
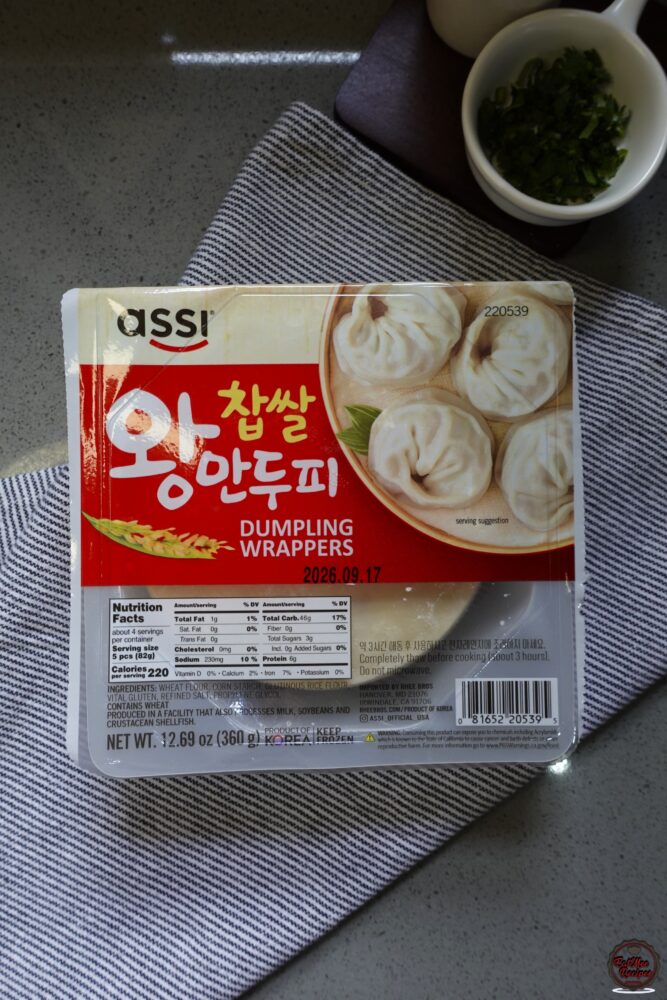
This specific brand only had 22 wrappers inside so be sure to get enough for the filling – or you can freeze leftover filling and defrost and fill wrappers when you have more on hand.
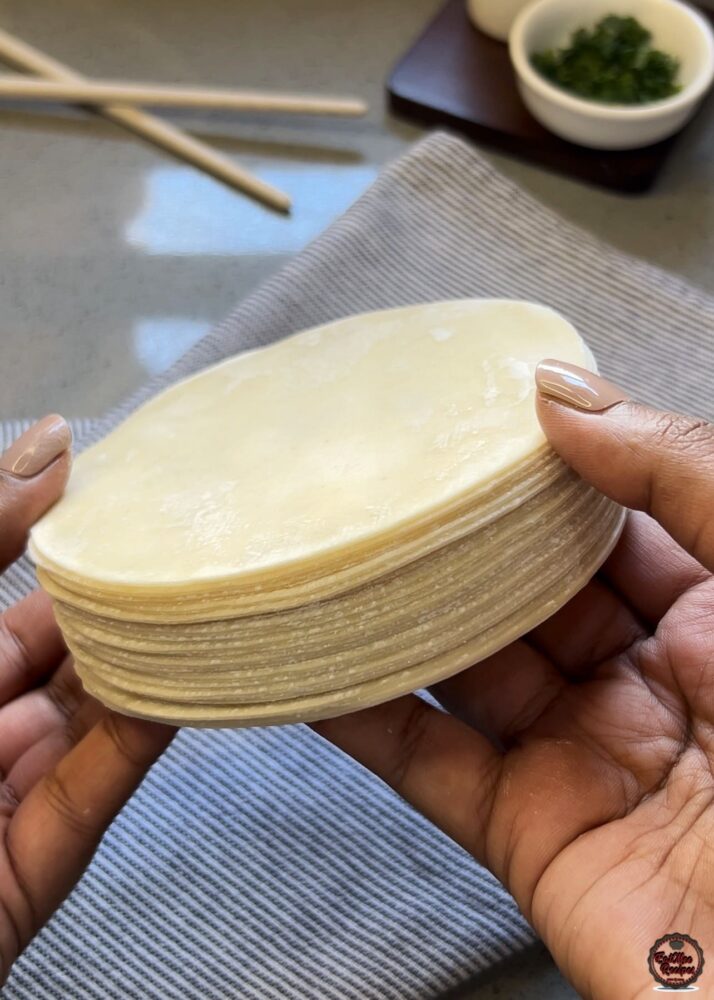
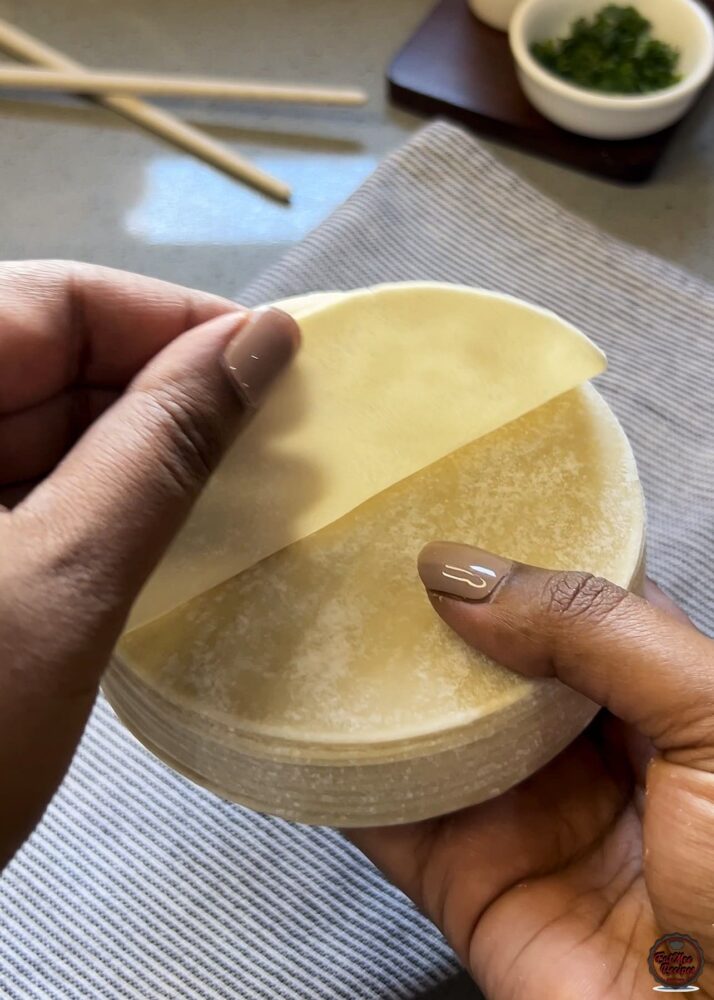
Now to assemble, place one wrapper on the counter.
Add about one teaspoon of filling to the centre of the wrapper.
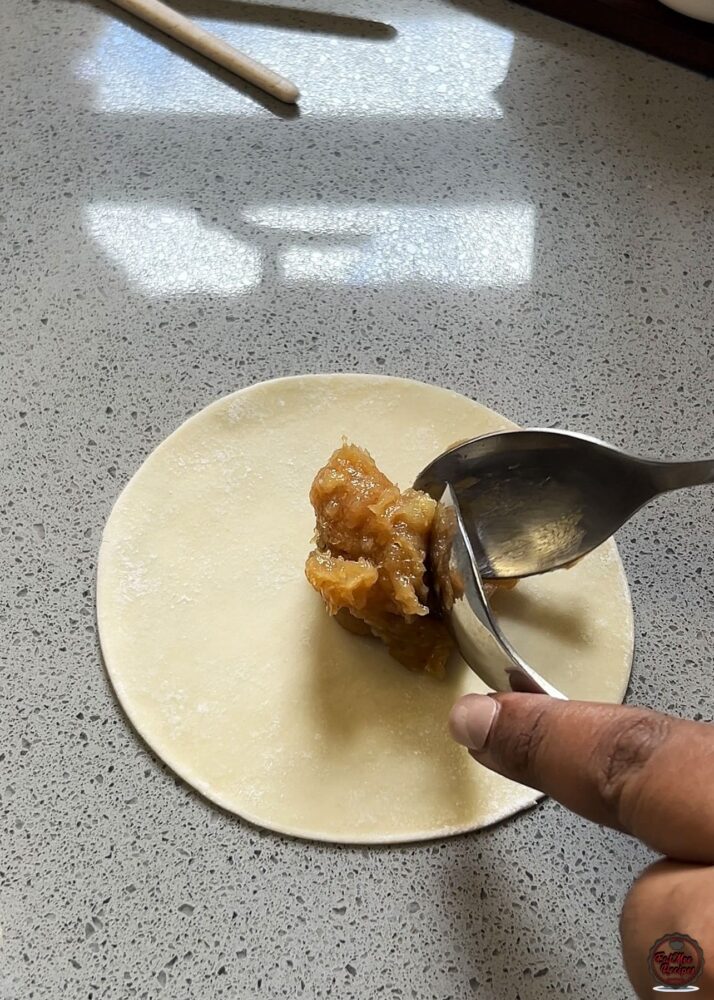
Wet the edges of the wrapper lightly with water as this will allow them to seal properly.
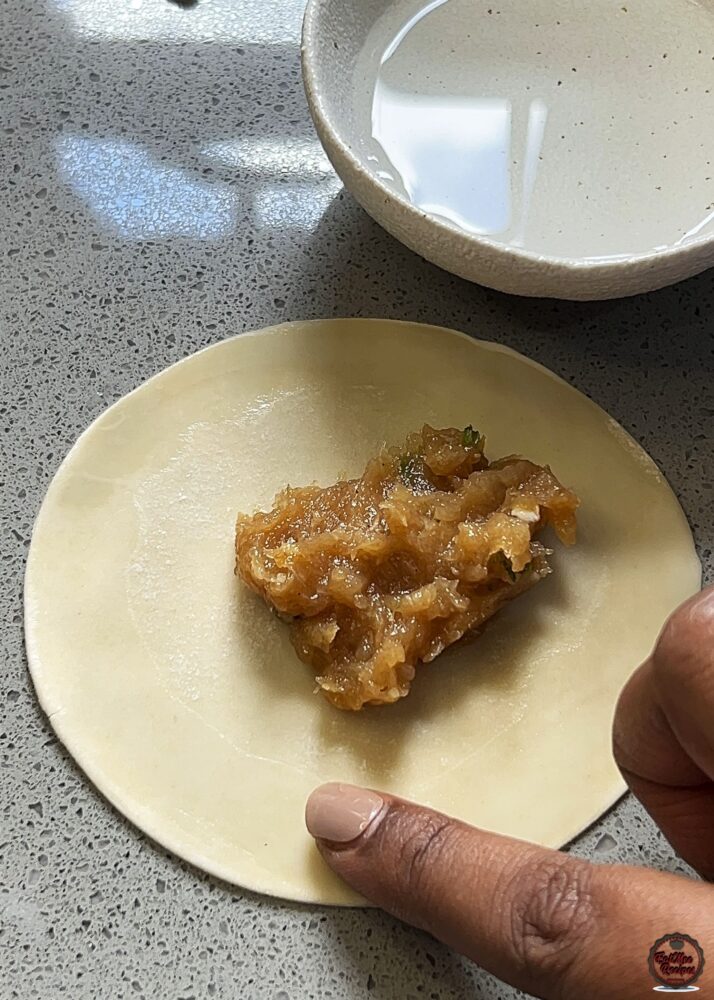
Now to get them folded – place a wrapper in your non-dominant hand. Fold the wrapper over to form a half-moon, and lightly pinch it together at the top middle to hold the shape (leave the sides unsealed).
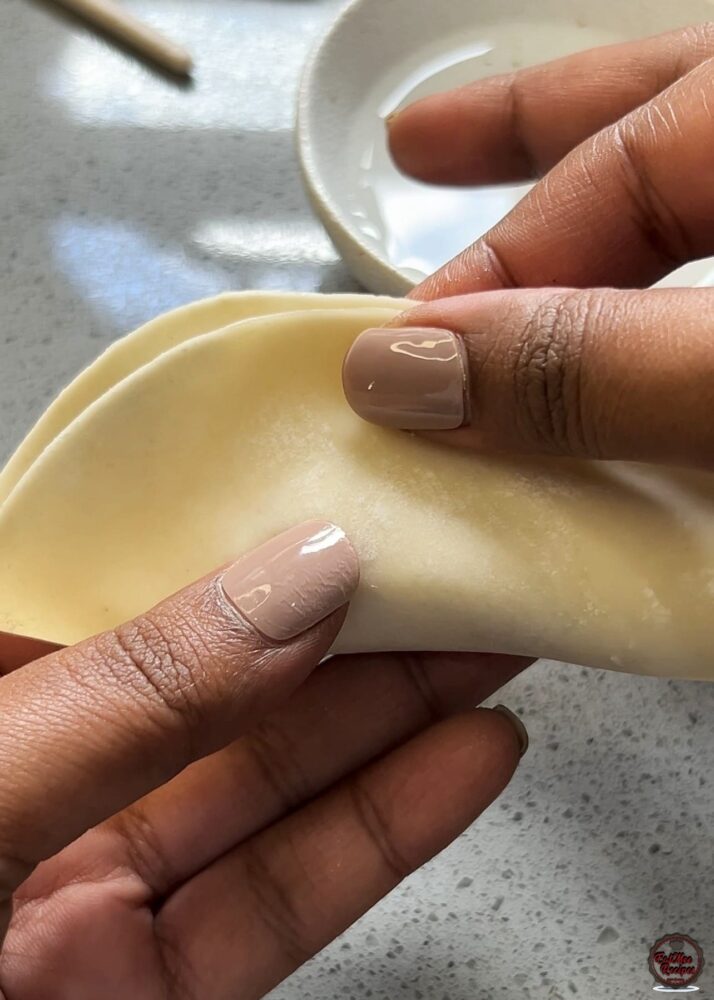
From the centre, create small pleats along one side (left as shown), folding the front edge toward the middle and pressing each pleat to secure. Note: its only the front of the wrapper that gets folded (not both flaps of the half moon).
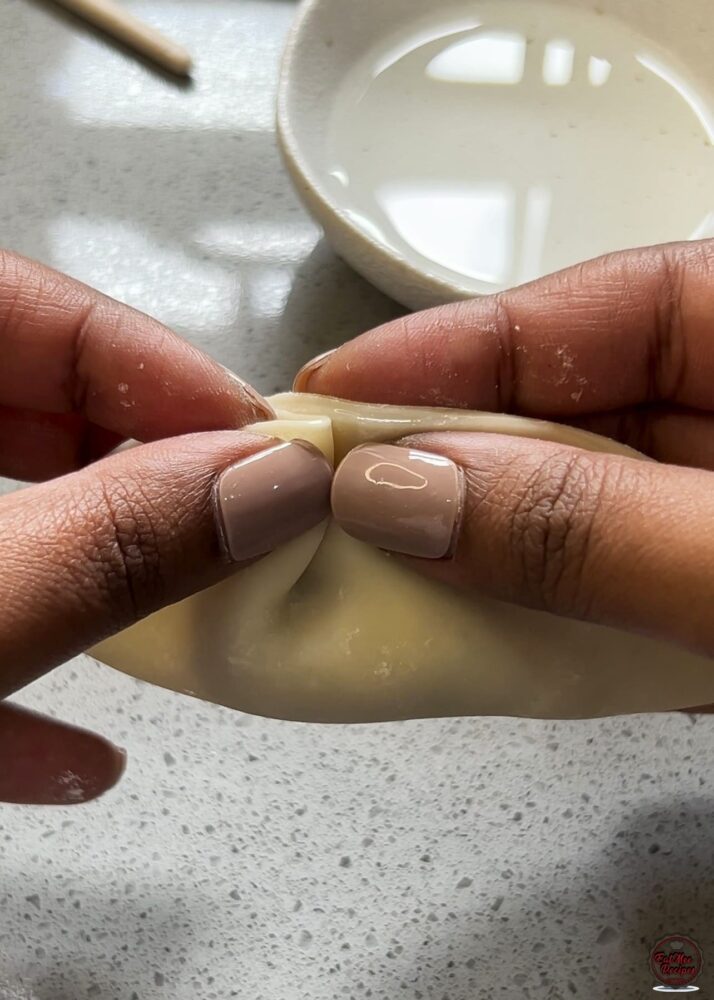
Repeat on the opposite side, pleating from the centre outward and sealing each fold firmly.
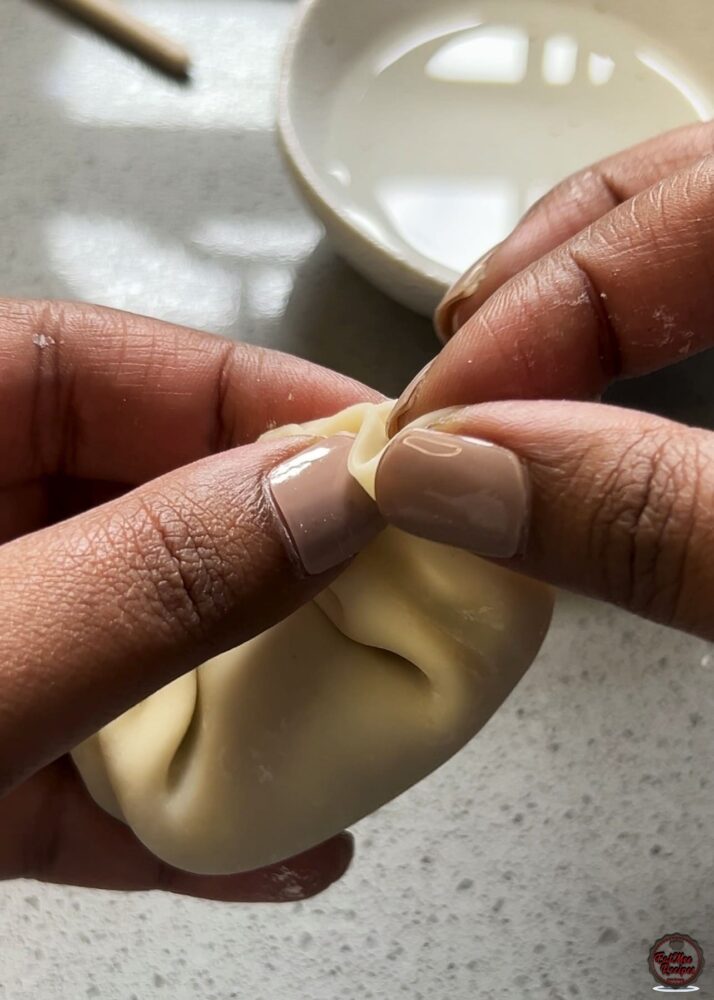
Press along the entire edge to ensure the dumpling is fully sealed, then gently shape it into a neat crescent.
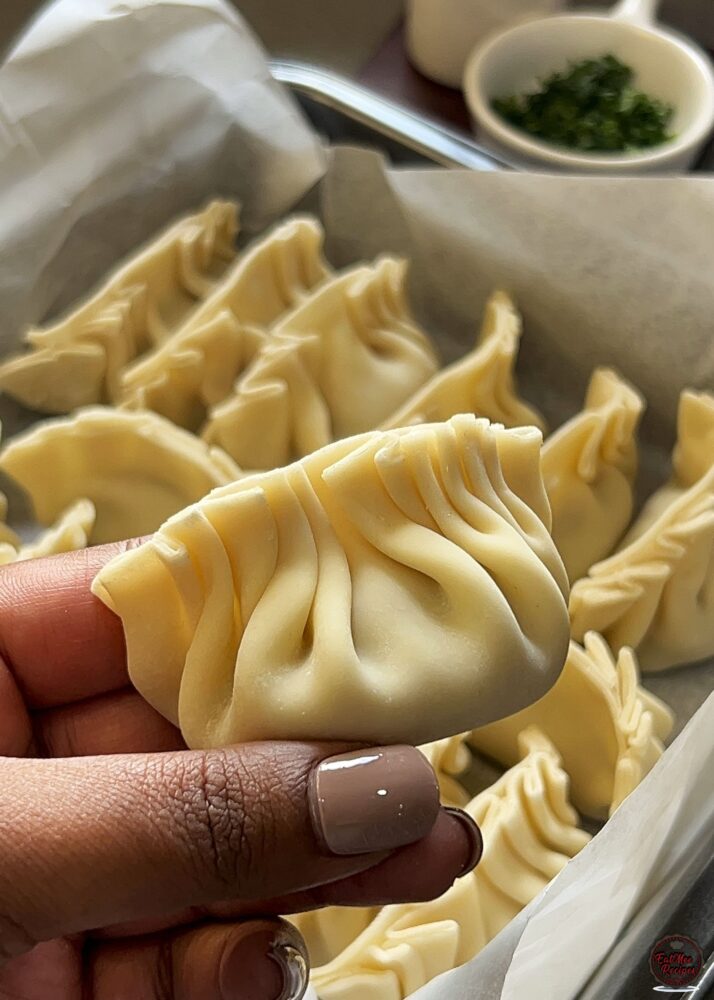
If this is your first time folding dumplings, don’t feel intimidated, after a few tries, you’ll quickly get the hang of it. And if pleating feels tricky, you can simply seal the wrapper into a basic half-moon shape, which works just as well.
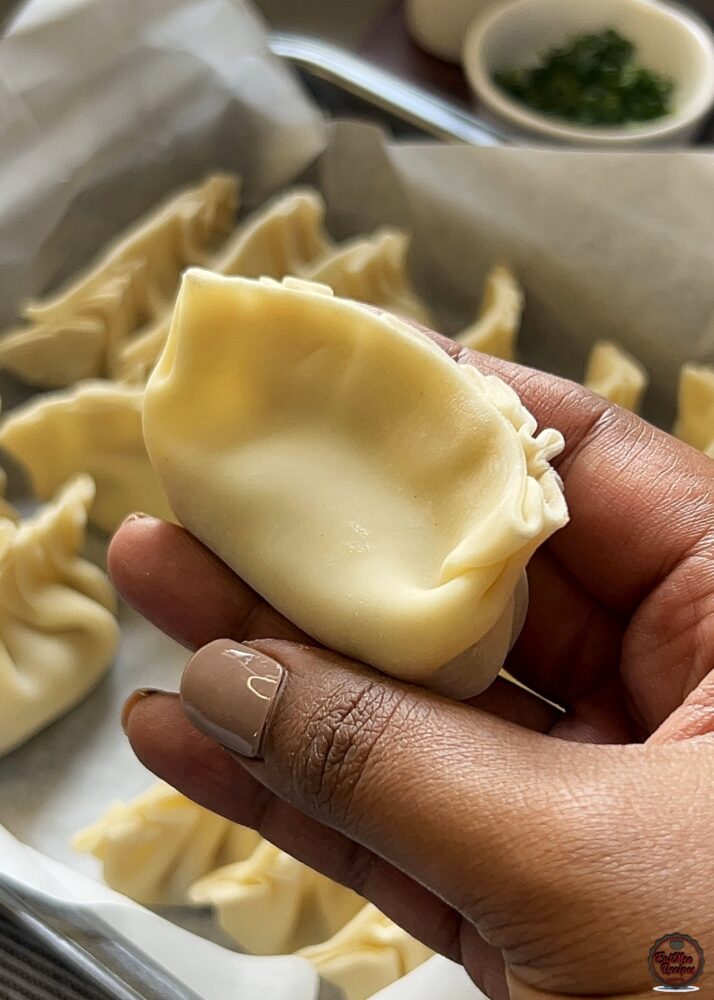
You can freeze these dumplings until you’re ready to cook them. To freeze properly, place the prepared dumplings in a single layer on a tray so they don’t touch, and freeze until firm (about 1-2 hours). Once frozen, transfer them into an airtight ziplock bag or container. They can be stored in the freezer for up to 2-3 months. When you’re ready to cook, there’s no need to thaw, cook straight from frozen for best results.
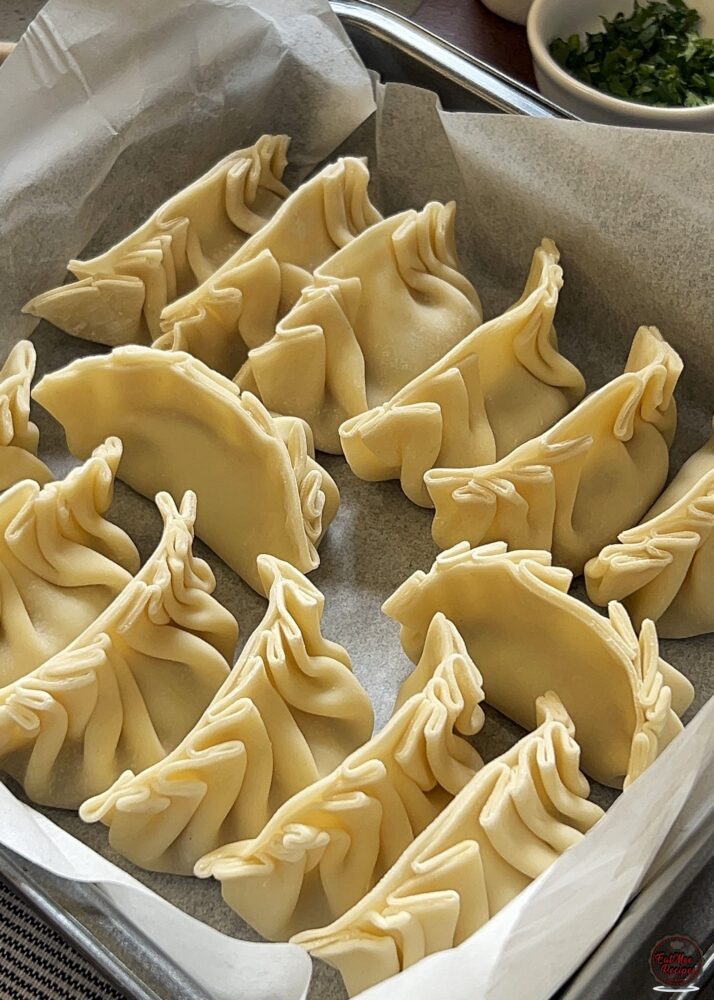
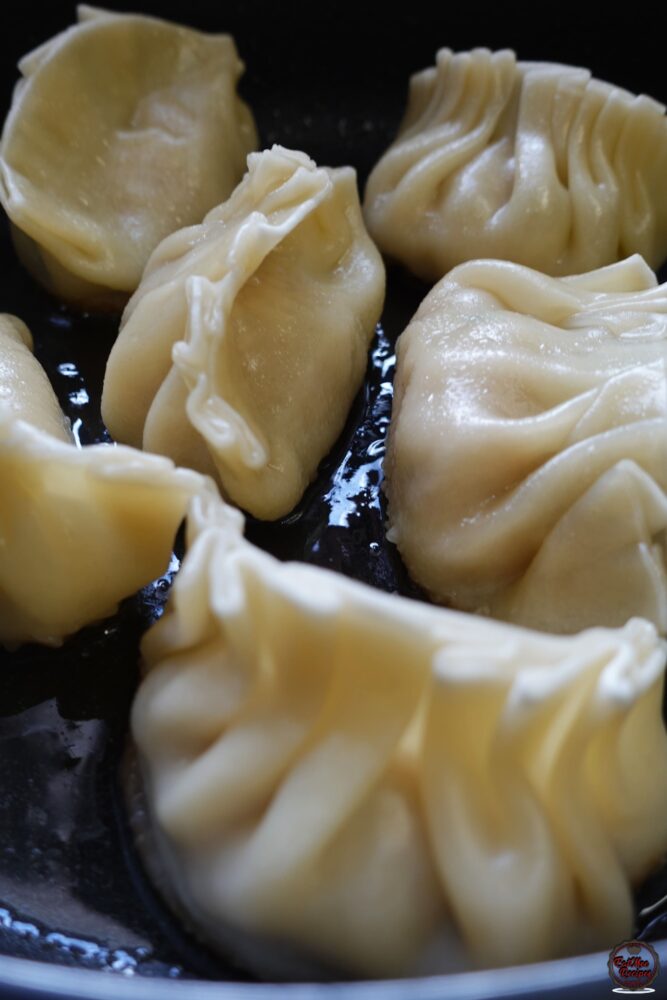
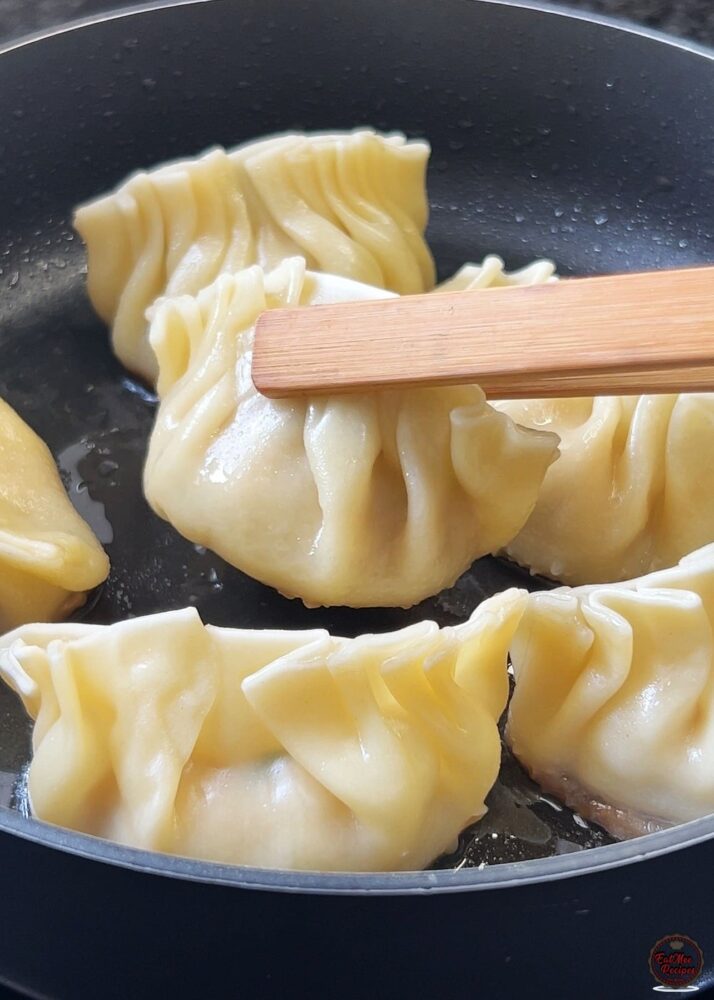
Now onto cooking them, heat a little oil in a pan on medium-low heat and place the dumplings flat side down.
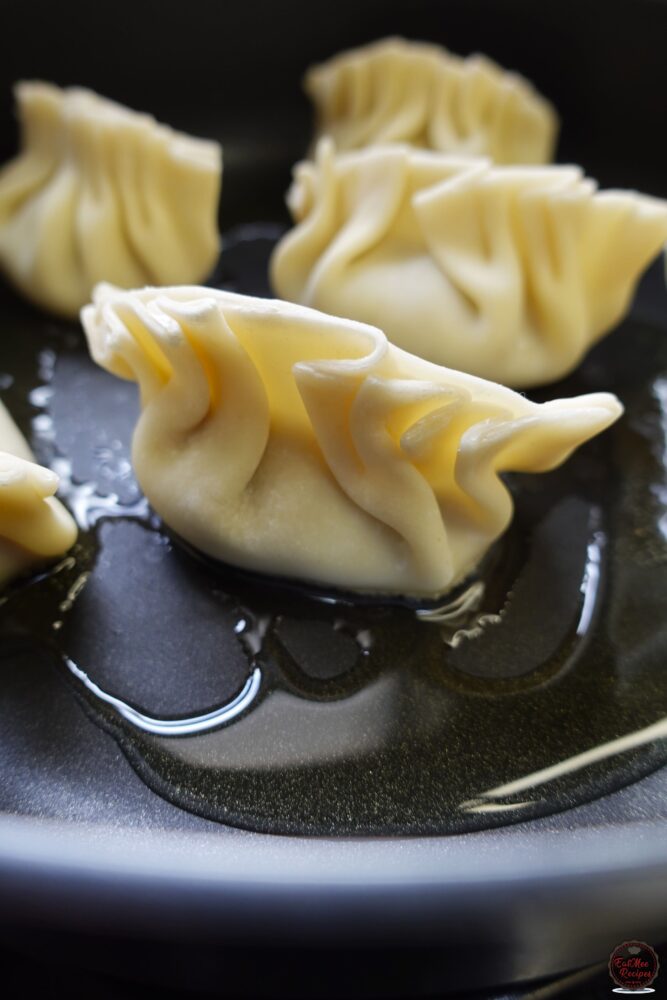
Let them fry until the bottoms are golden and crisp.
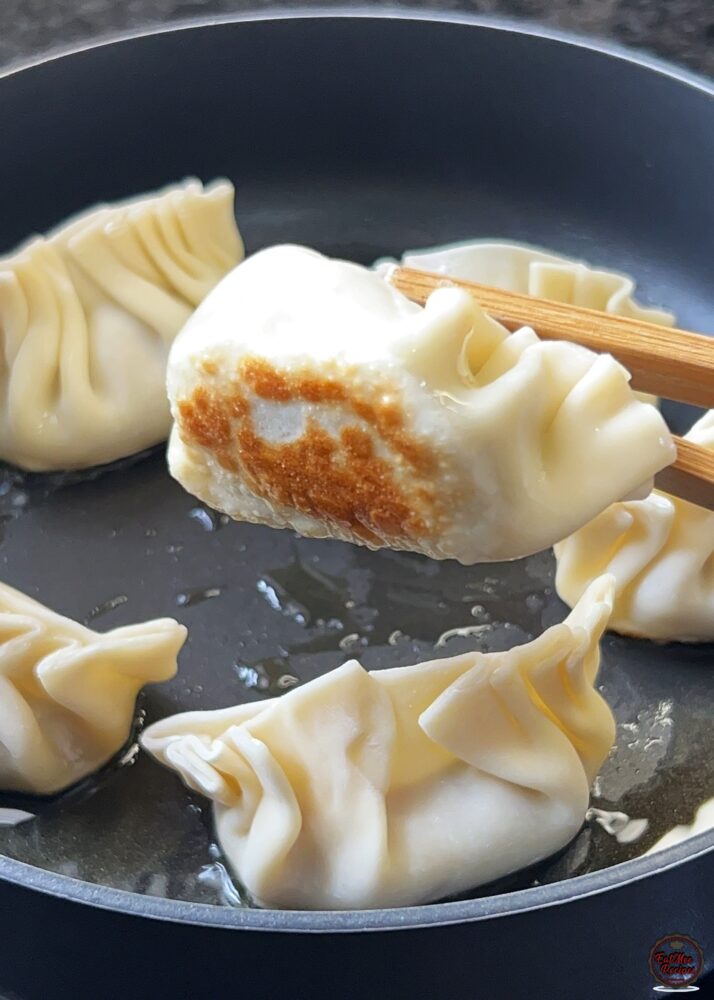
Carefully add ¼ cup (60 ml) of water (for 6 dumplings at a time).
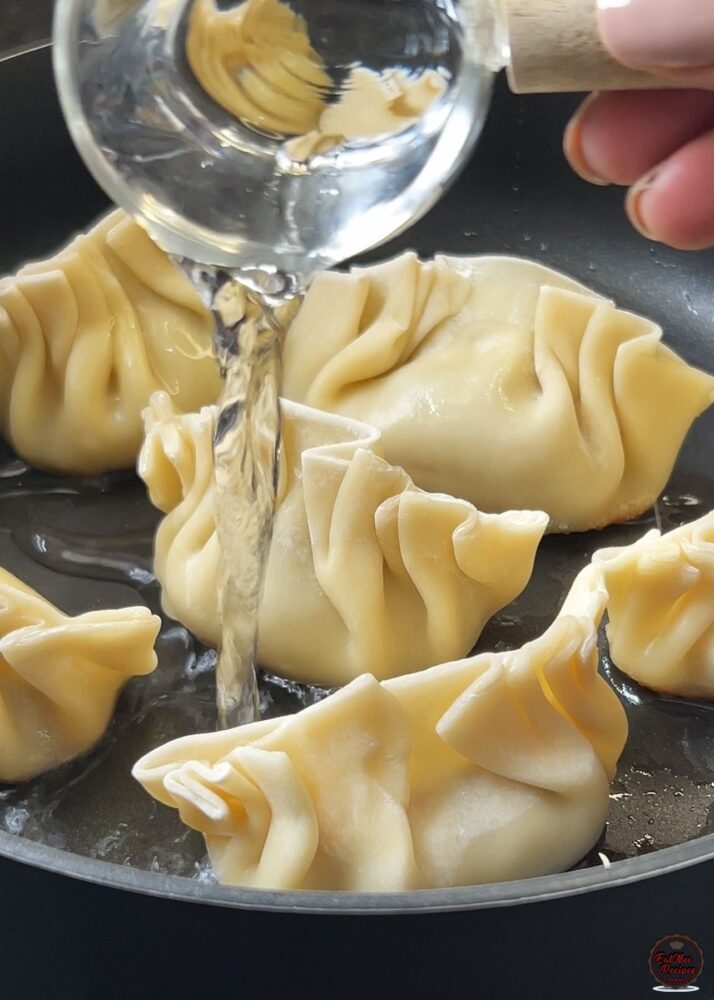
Cover the pan with a lid, and allow them to steam for about 8 minutes until cooked through and tender.
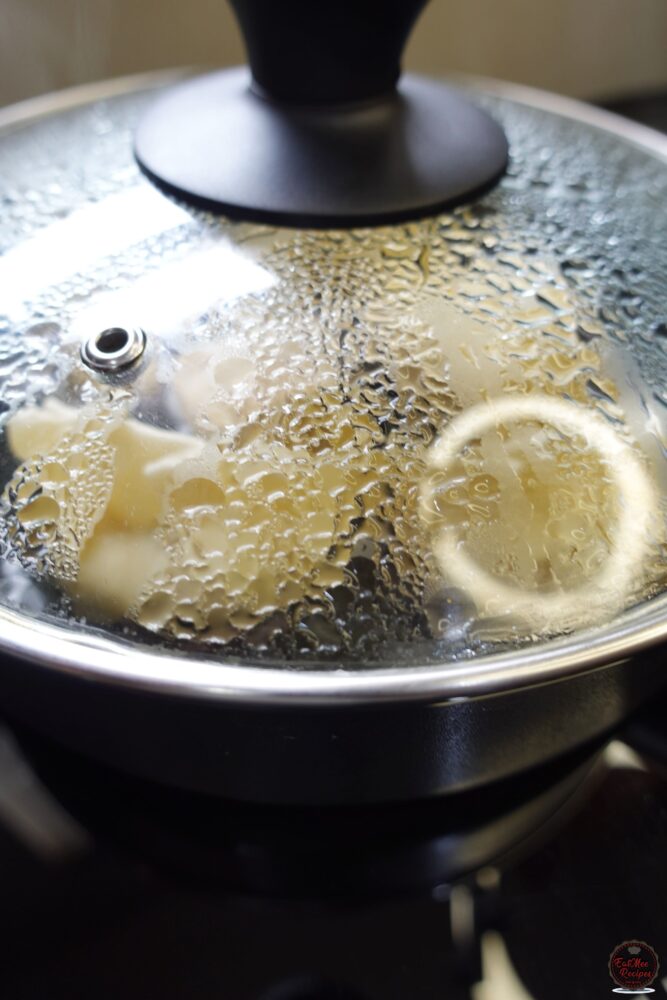
If the water evaporates too quickly, you can add a little more in small splashes, but don’t pour too much or the bottoms won’t stay crispy.
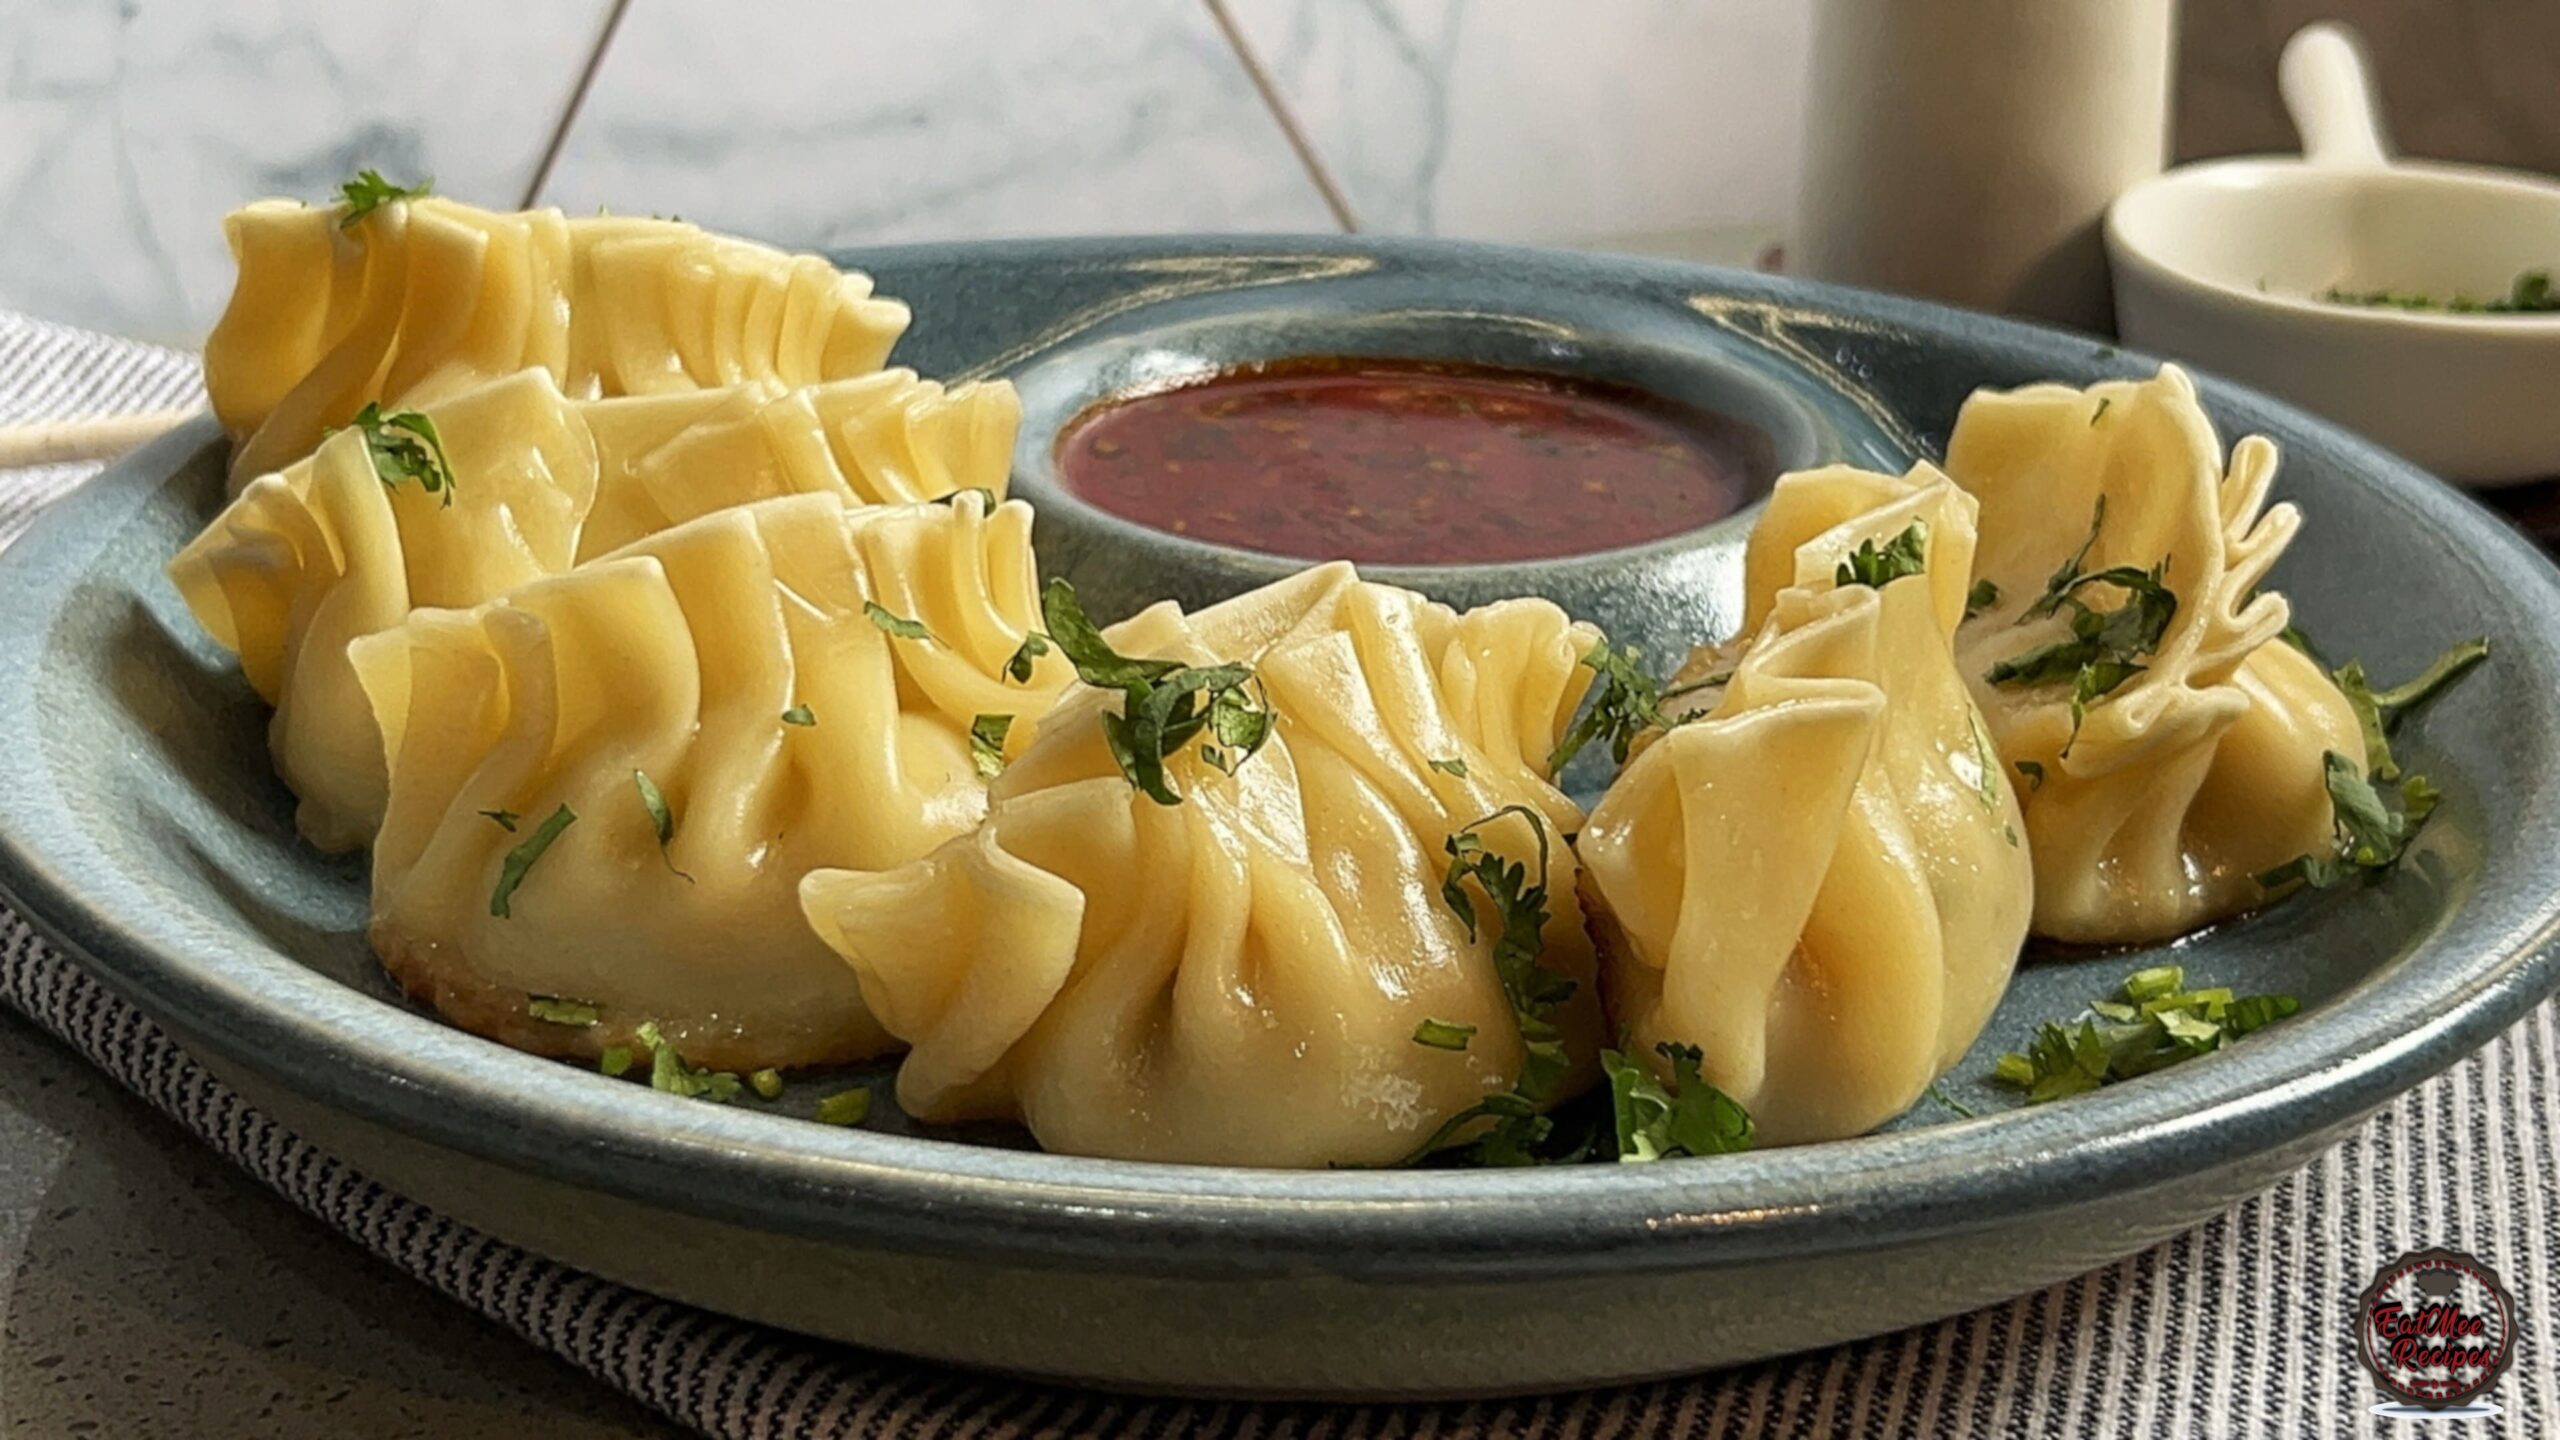
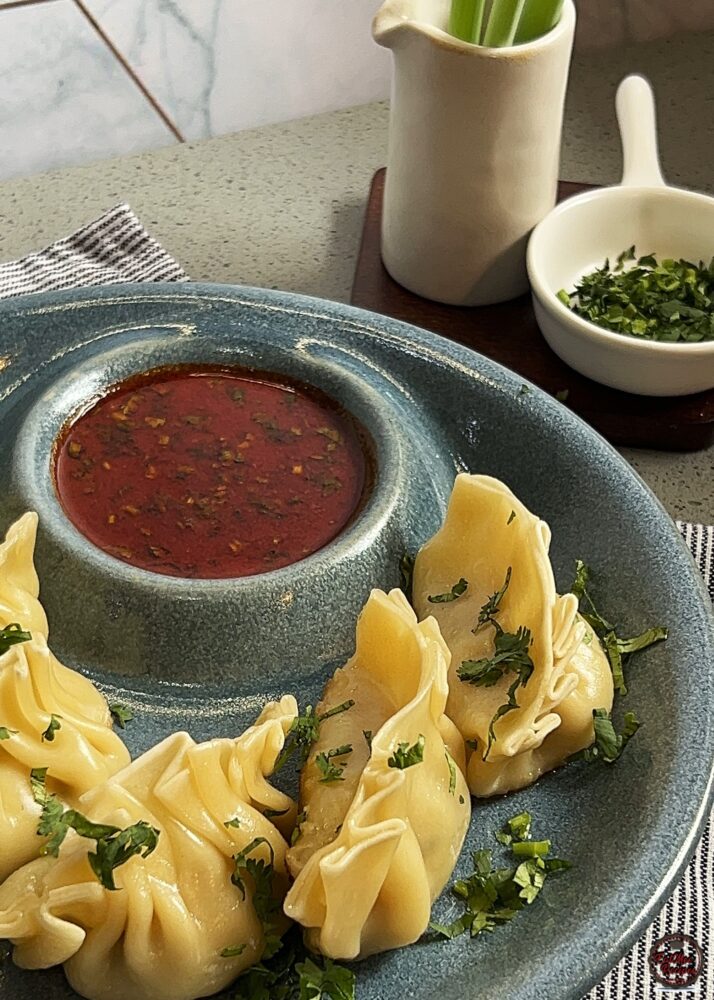
Once cooked, transfer the dumplings to a plate. Garnish with a little chopped coriander or spring onions for a fresh, vibrant finish.
Serve hot with your favourite dipping sauce. I made my own concoction with Buldak sauce because I love that extra kick and it honestly puts every other sauce to shame!
These are so crispy, juicy, and packed with flavour. Perfect for sharing…or keeping all to yourself. Give them a try and let me know what you think!
I’ve also used the same filling to create Dumpling Lasagna’s which are sure to hit the spot.