This Recipe Makes 1 Loaf
Soft, fluffy steamed bread, also known as ujeqe, is a beloved staple that pairs beautifully with rich stews and curries. Light yet satisfying, it is known for its delicate texture and simple preparation.
Traditionally, ujeqe is steamed on the stovetop, often over a pot of simmering water. While this method is well-loved, using an instant rice cooker offers a more convenient approach without compromising on texture or flavour.
With functions such as steaming and consistent heat control, the instant rice cooker allows the dough to cook evenly, resulting in a soft and perfectly steamed bread every time. It removes the need for constant checking, making the process simple and reliable.
This method yields a beautifully soft and fluffy ujeqe, with a light texture that pairs perfectly with your favourite savoury dishes.
What is Steamed Bread (uJeqe)?
Steamed bread, or ujeqe, is a traditional South African bread made by steaming a simple dough rather than baking it. The result is a soft, fluffy bread with a delicate texture, perfect for soaking up rich stews and curries.
Ujeqe is a Zulu word that refers to steamed bread.
It comes from the verb “ukujeqa,” which means to steam or to cook using steam. So ujeqe essentially describes bread that is prepared by steaming rather than baking.
Step-by-Step Instructions
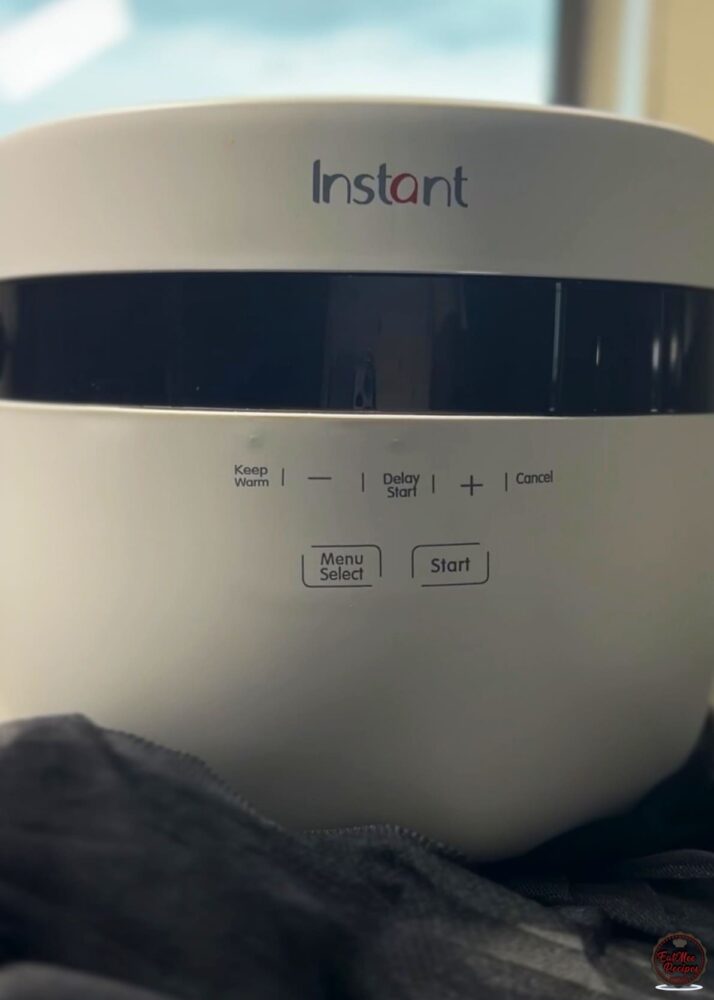
I used the Instant Pot Rice Cooker & Steamer (12-cup/2.8 L) for this recipe, which has made this steam bread completely fool proof.
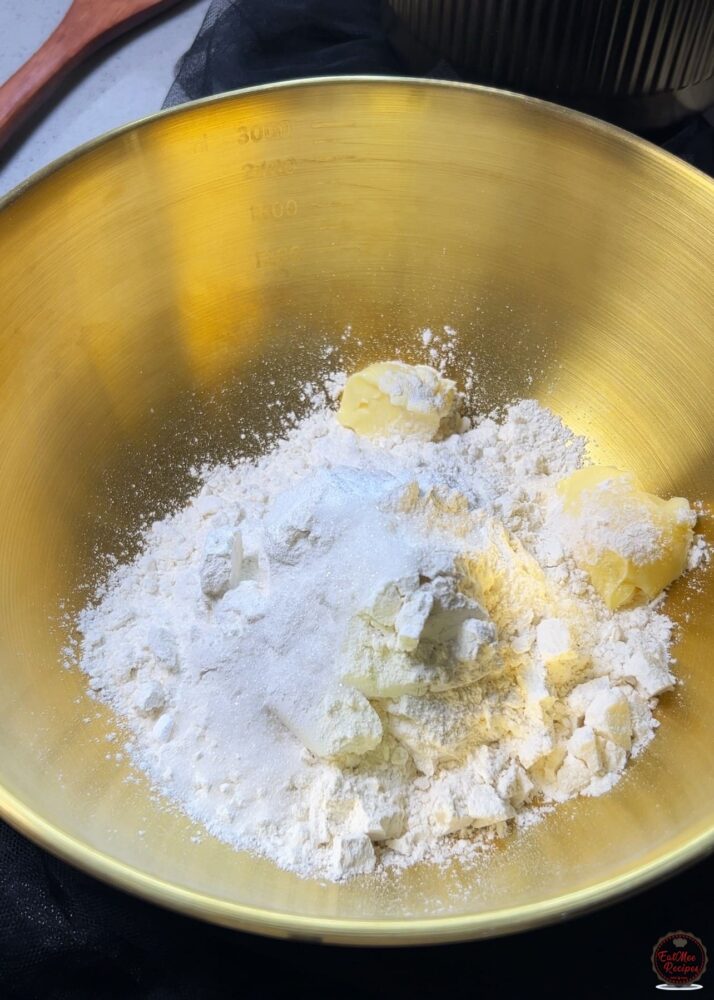
To a large bowl, add in flour, baking powder, salt, sugar and butter or margarine.
Using your fingertips, rub the butter into the flour mixture until it resembles a breadcrumb texture and all other ingredients are mixed in.
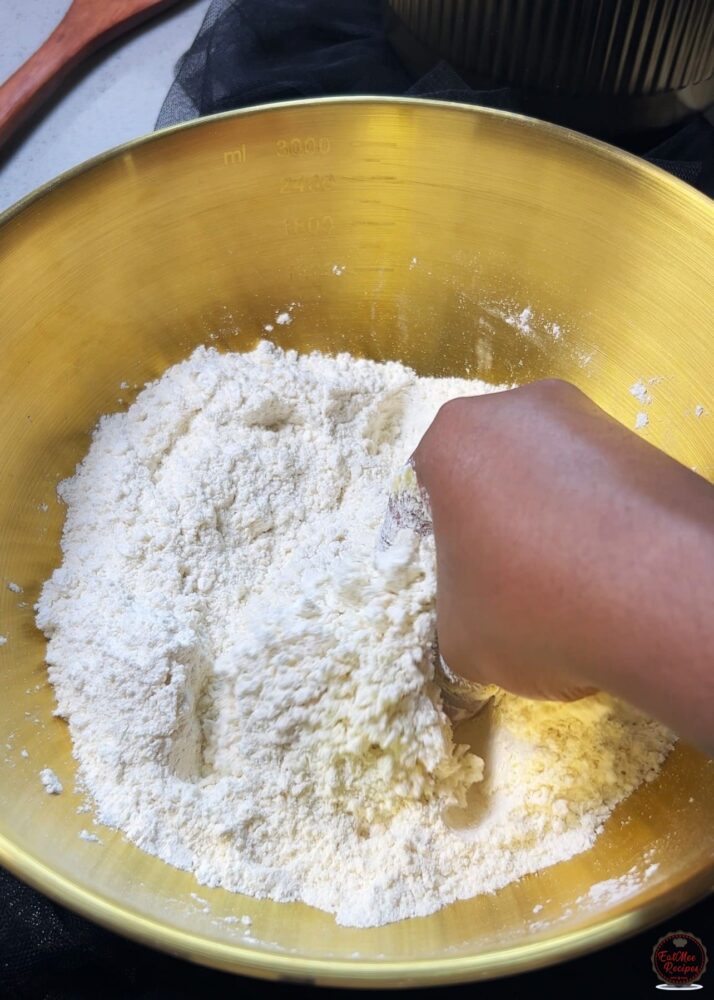
Add the instant yeast and mix through.
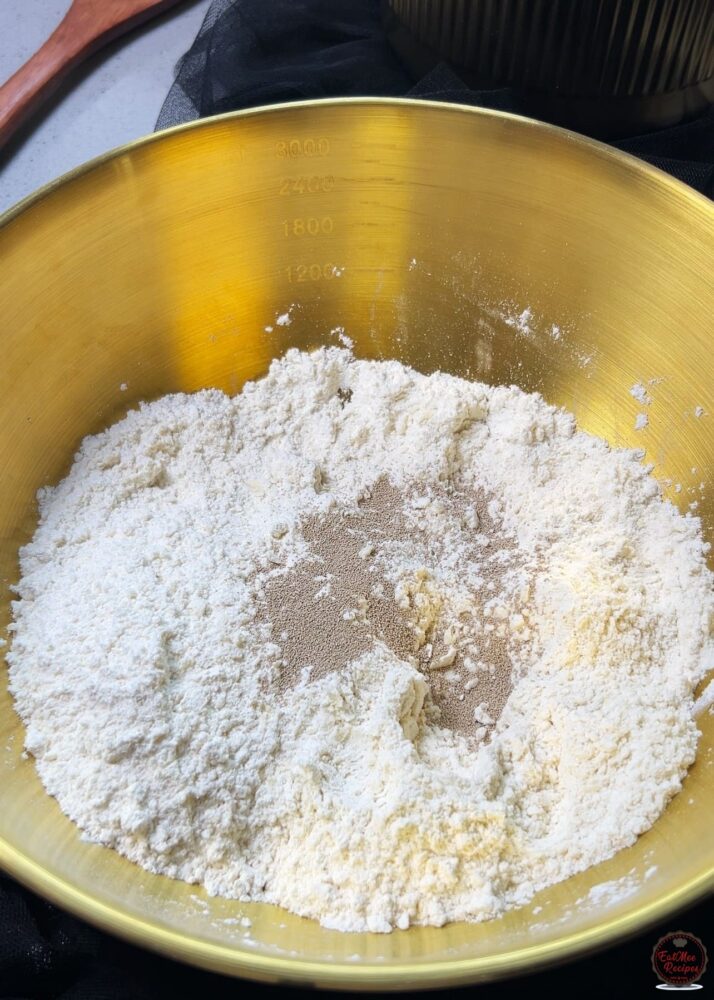
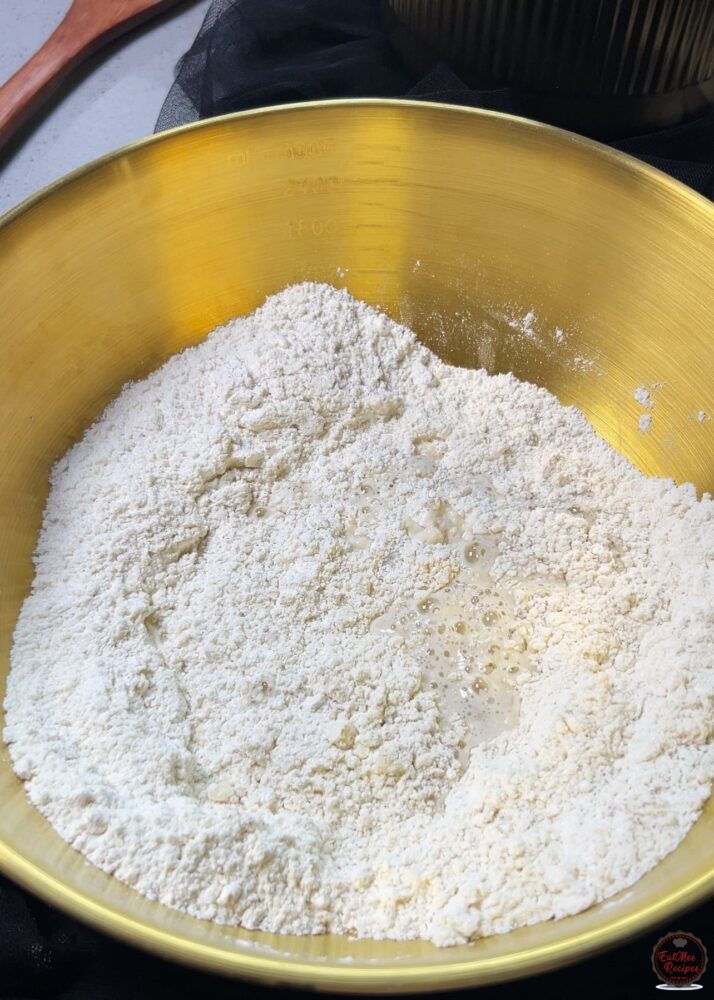
Gradually add warm water and mix into a slightly tacky dough.
Knead the dough for 10 minutes, adding more flour if needed.
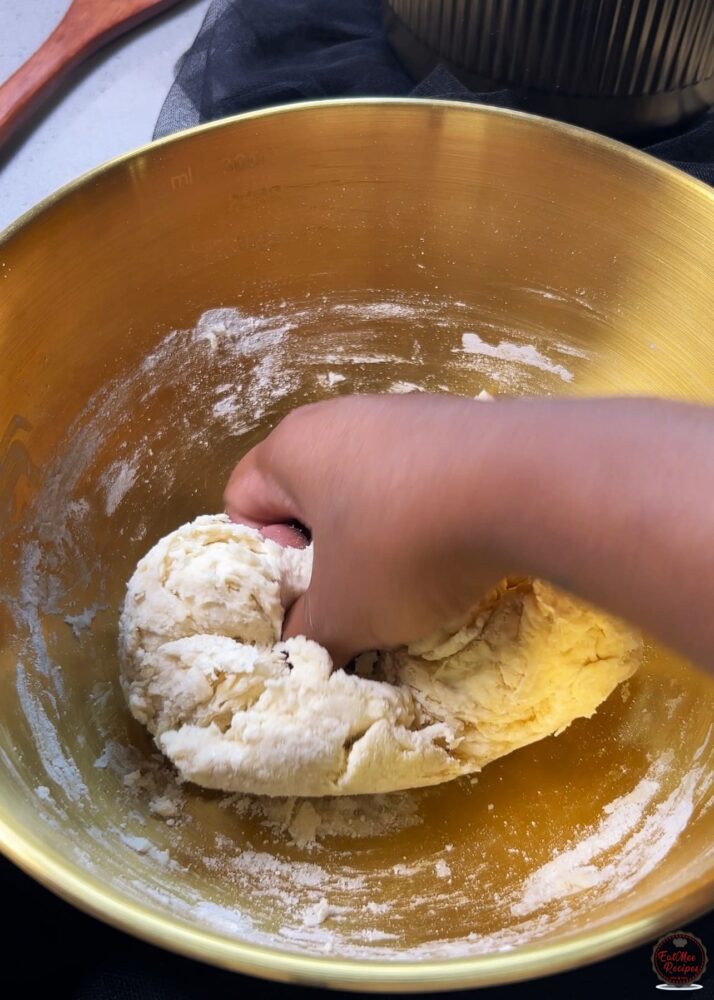
The dough should become smooth and elastic.
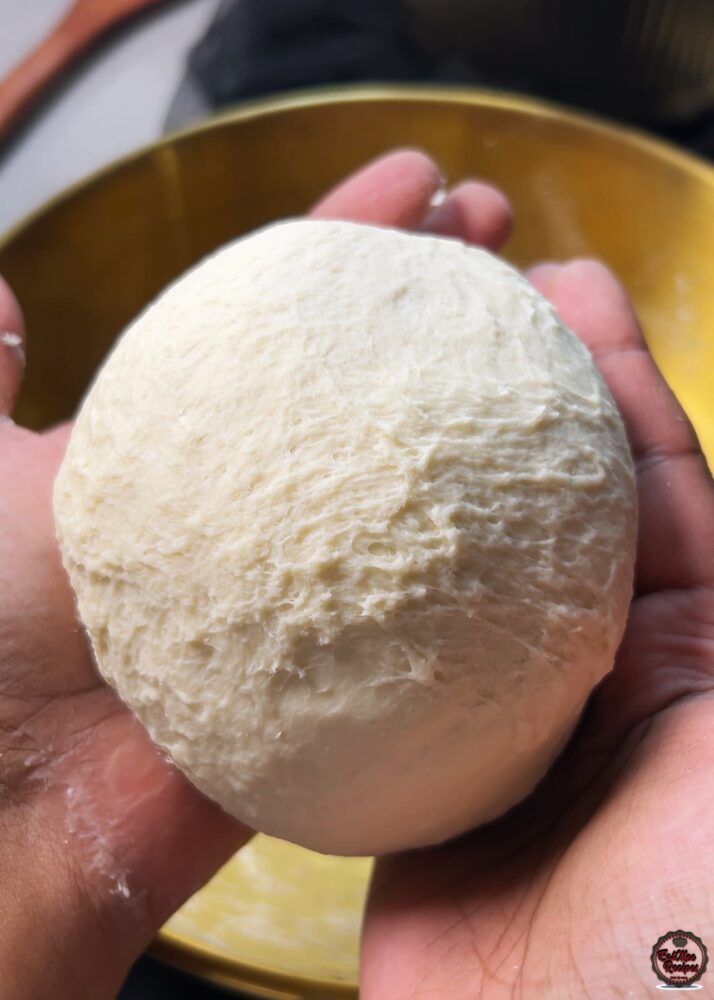
Grease a bowl lightly with oil and place the dough inside, coating the dough in the oil so it doesn’t dry out.
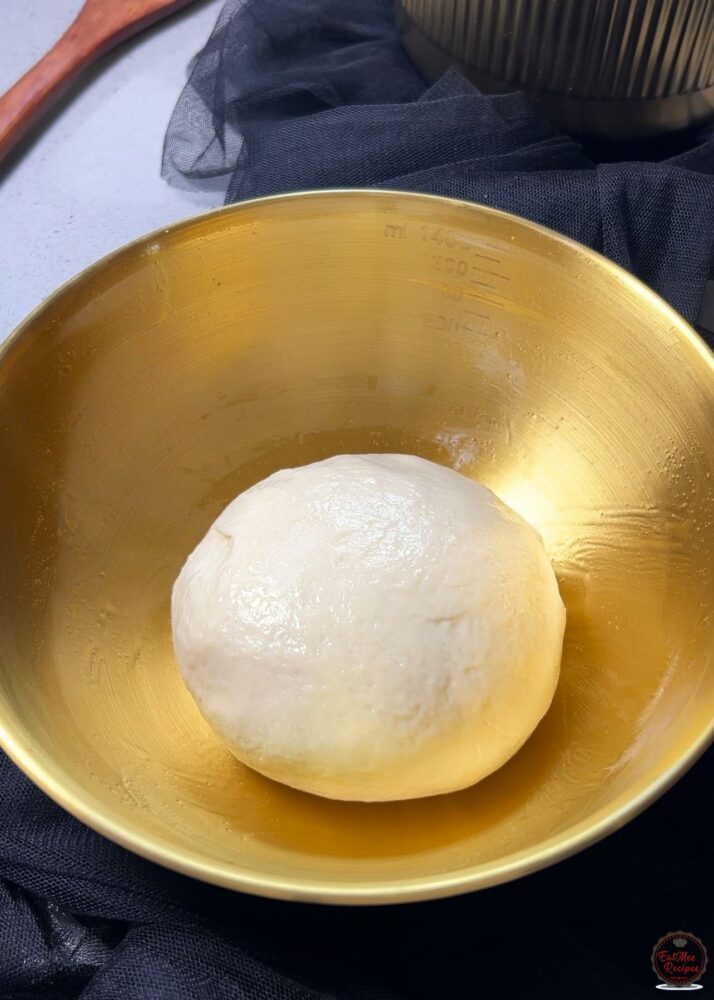
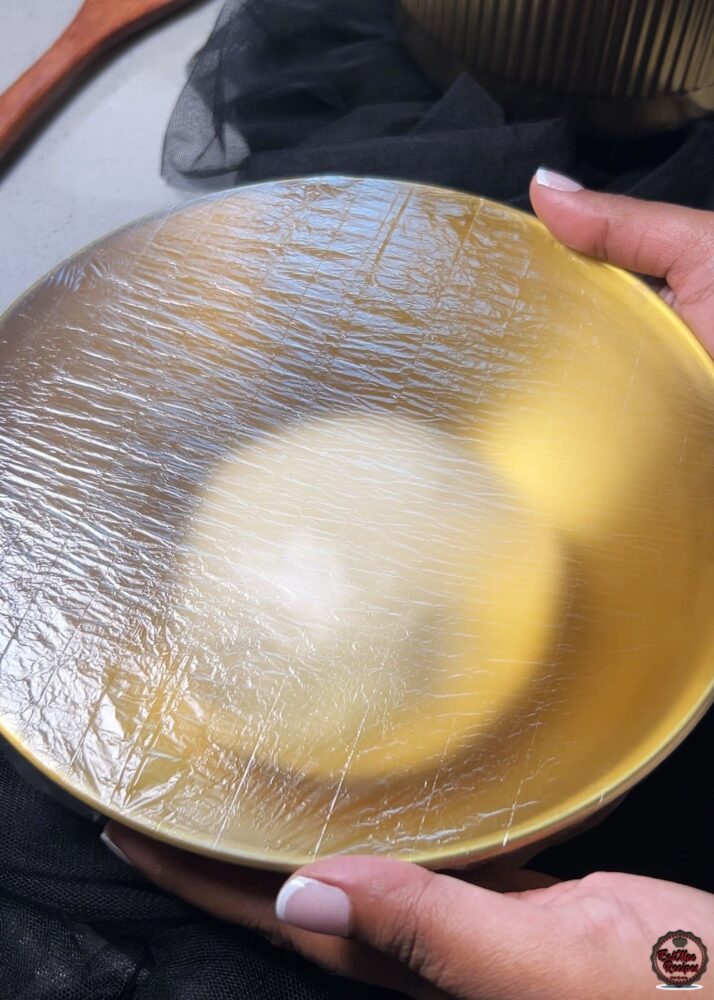
Cover the bowl and allow to rest for 1 hour or until doubled in size.
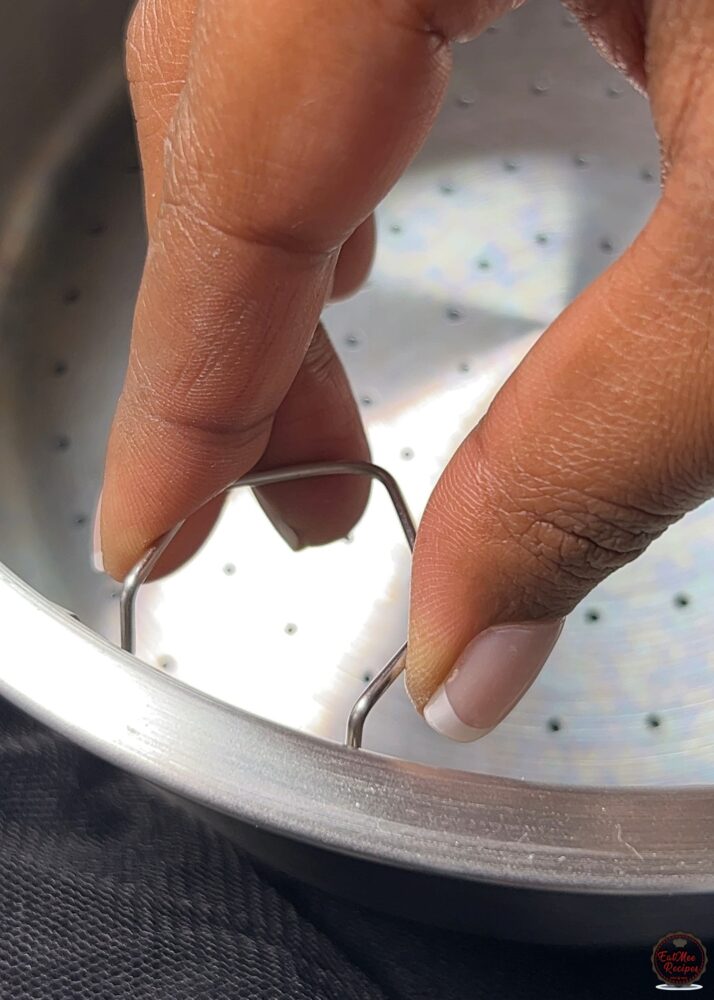
Next, prep the strainer basket that comes with the Instant Rice Cooker as we will be using it to steam the bread.
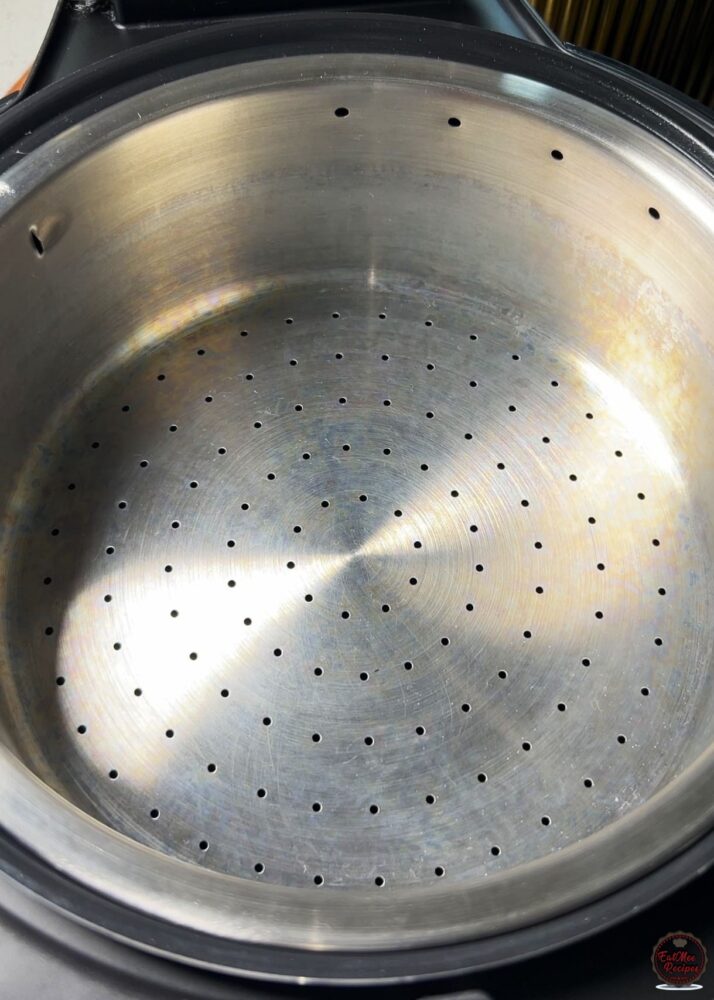
There will be handles on with side of the basket, simply press them together and the handles should slot out of the strainer. Keep them safe because you can put them back in once you’re done with the bread as these handles come in handy when making rice.
Next, I’m using these steamer paper liners – you may use baking paper instead.
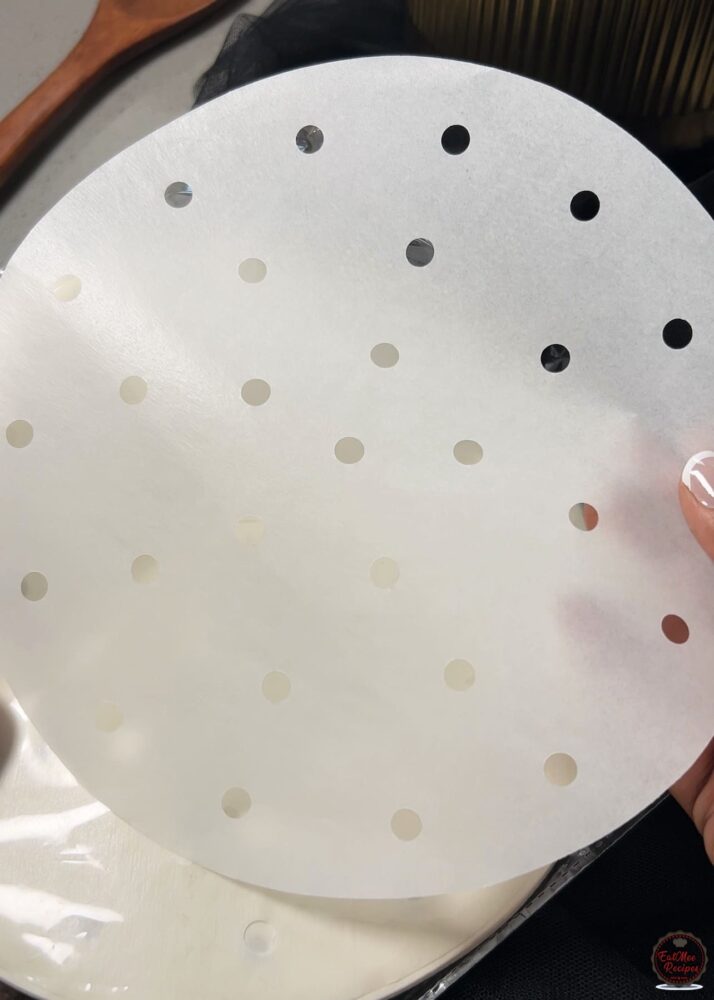
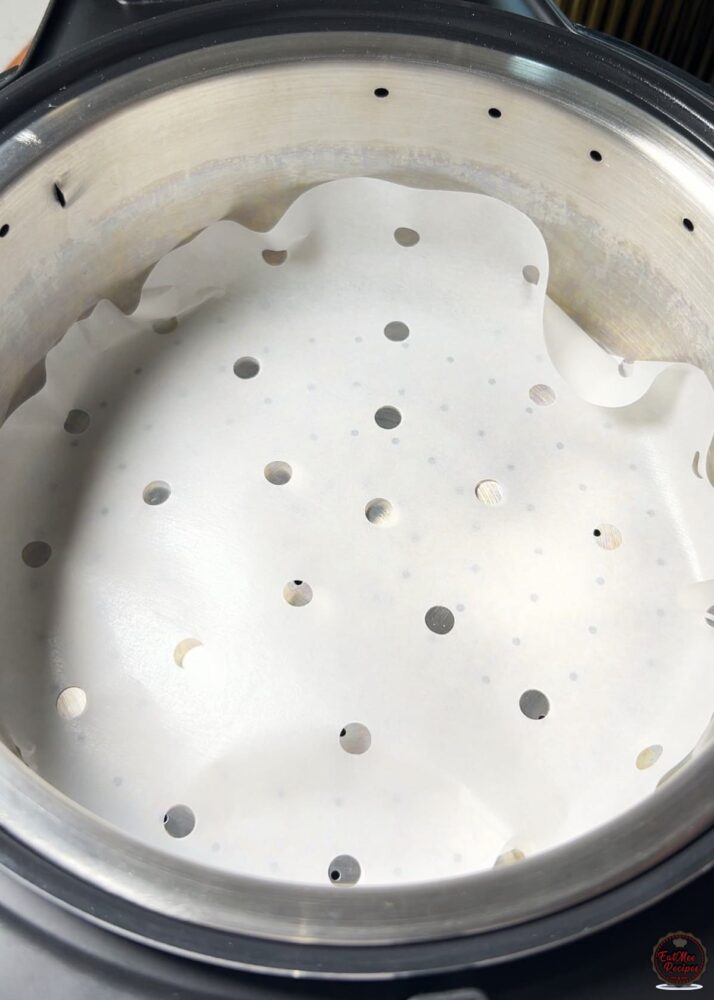
I lined the strainer basket with the steamer liner and then just used spraying oil on the entire basket so the dough doesn’t stick.
I then punched down my risen dough and formed it into a tight ball.
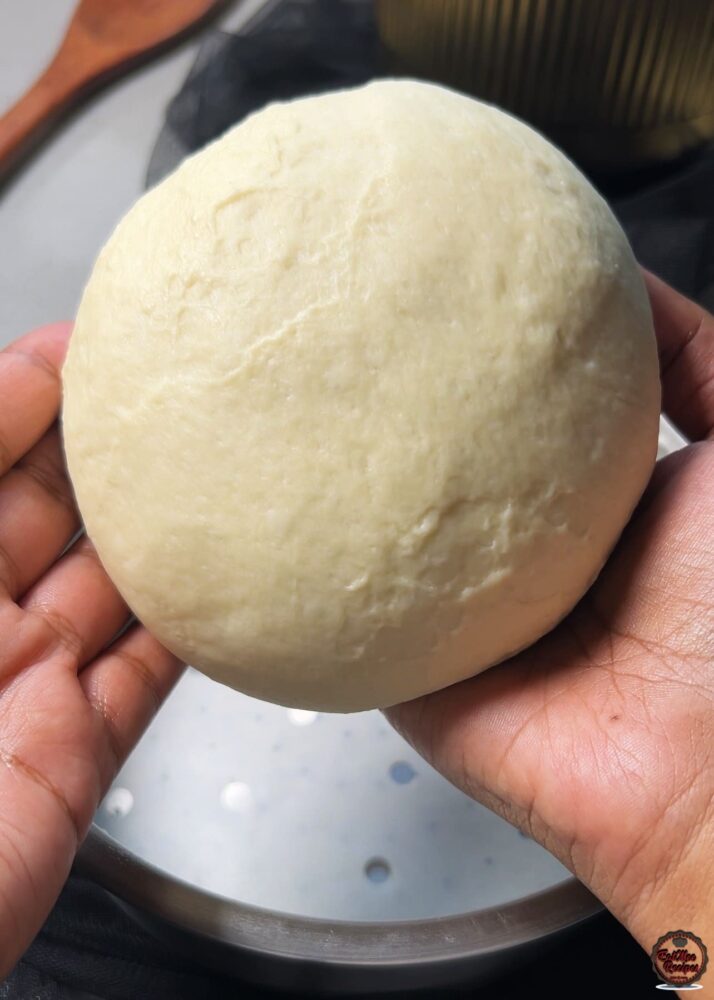
Place the dough into the prepared strainer basket.
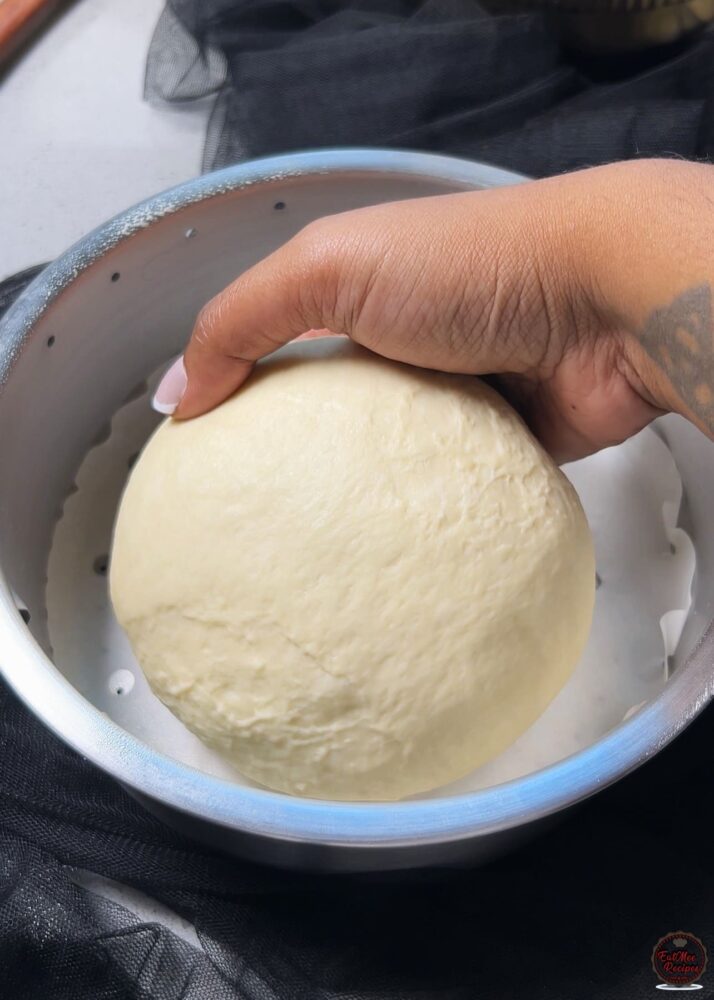
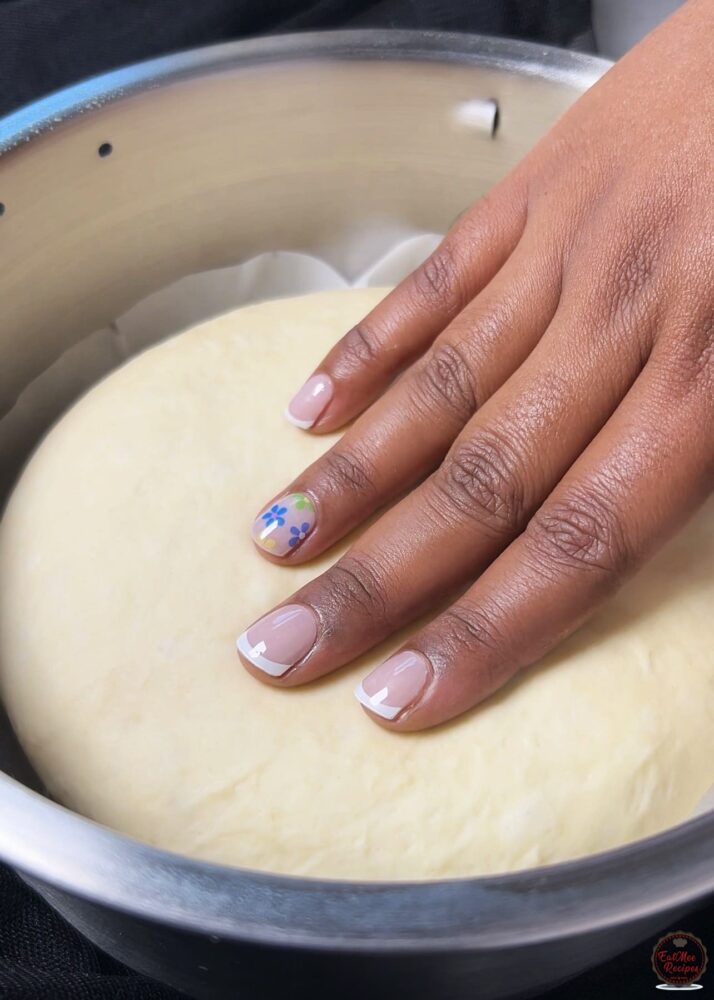
Use you hands to flatten the dough, this will allow it to take shape when it proofs again.
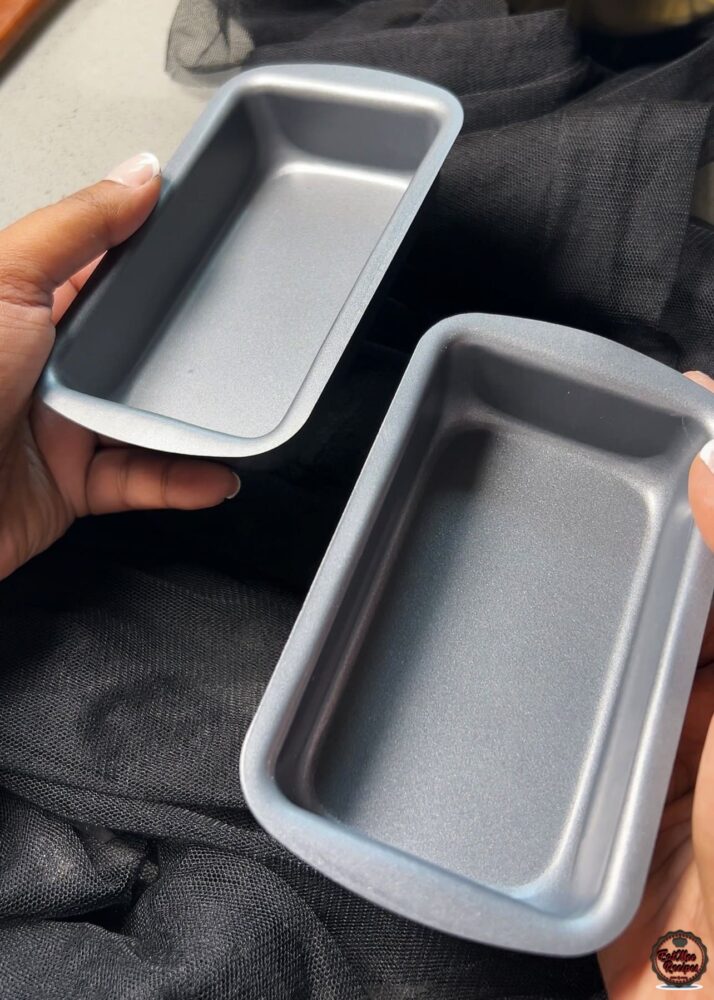
If you do not want it shaped that way, you may also use small trays that will fit into the strainer basket.
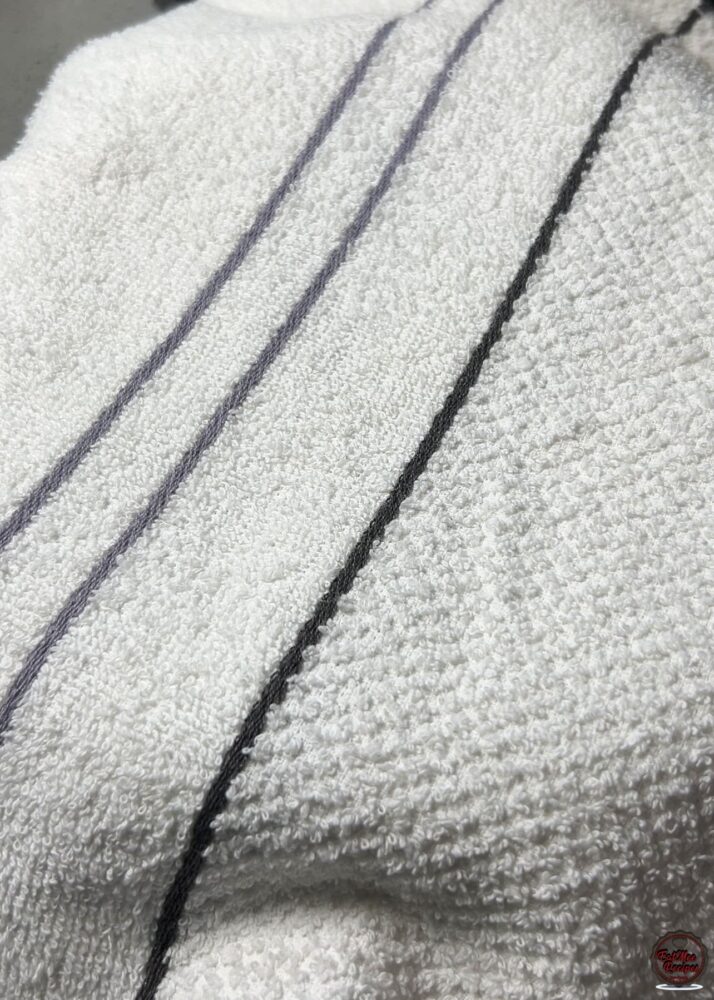
Cover the dough with a dish towel and allow to proof for a further 30 minutes until it has taken shape.
Open your Instant Rice Cooker.
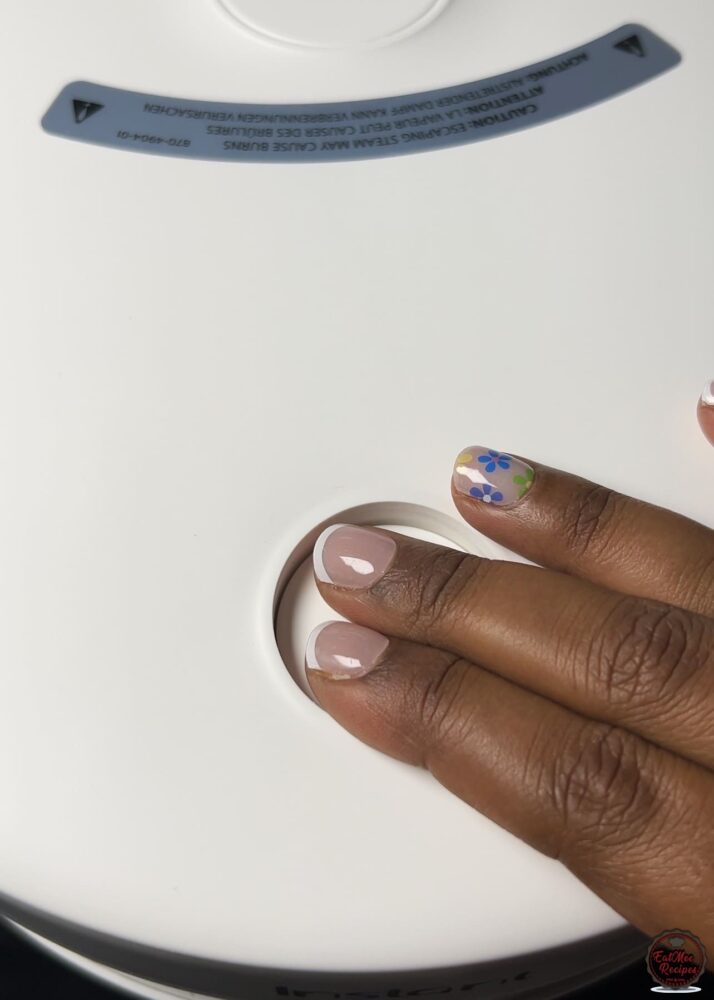
Pour 2 cups water into the inner pot.
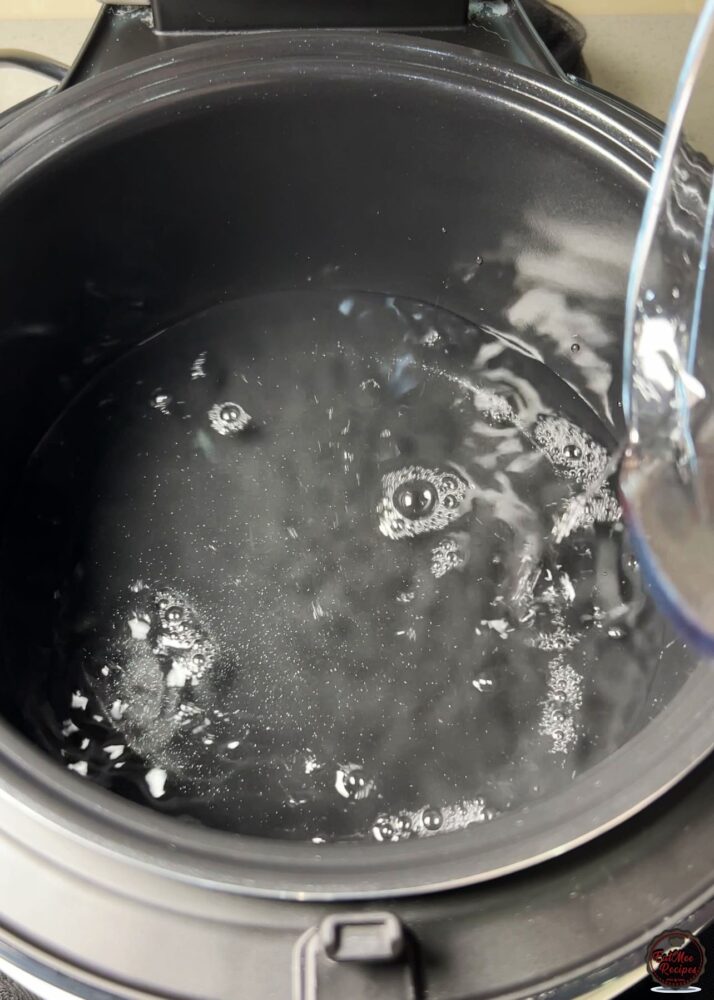
Then carefully place the strainer basket with the risen dough into the Rice Cooker (over the water).
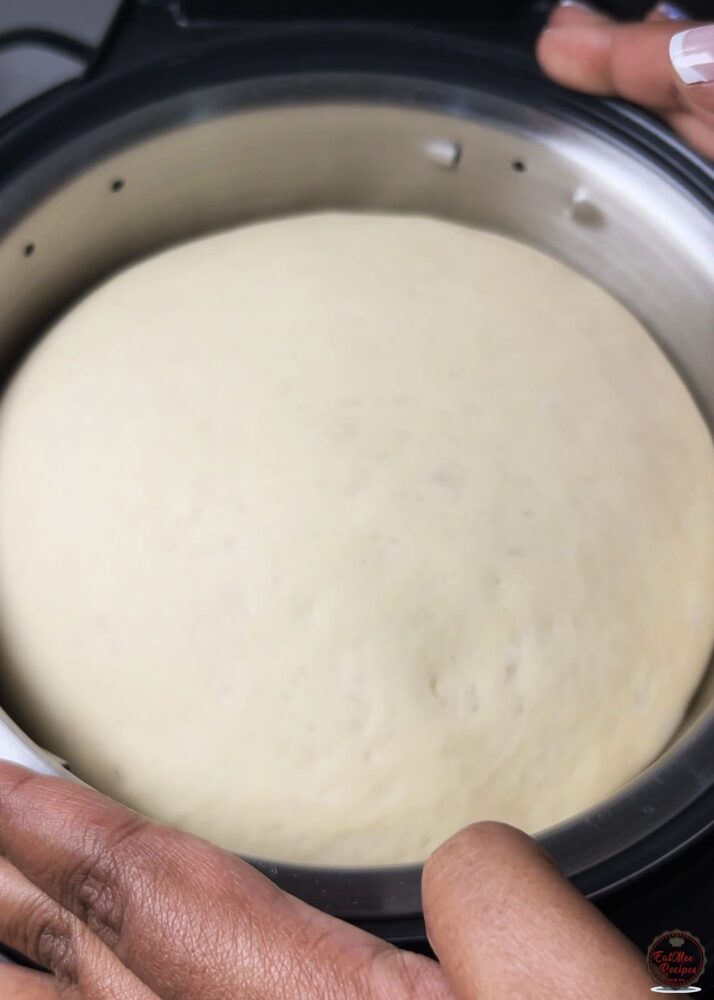
Close the lid and press “menu select” until it blinks on the “steam” fuction.
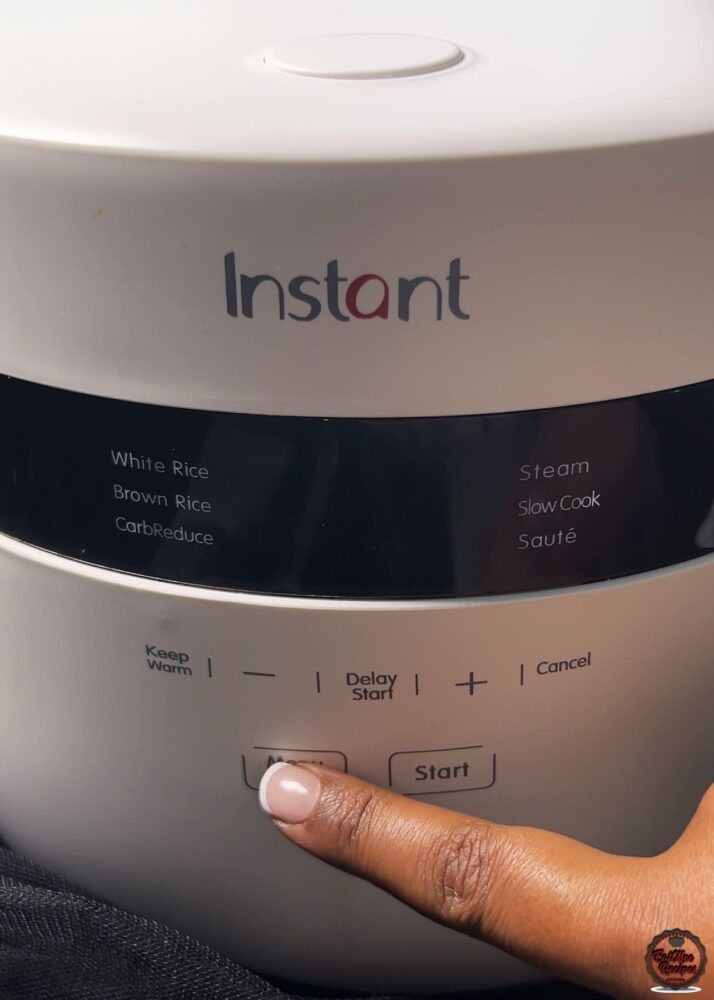
Press “+ or -” on your Instant Rice Cooker to adjust the time to 40 minutes.
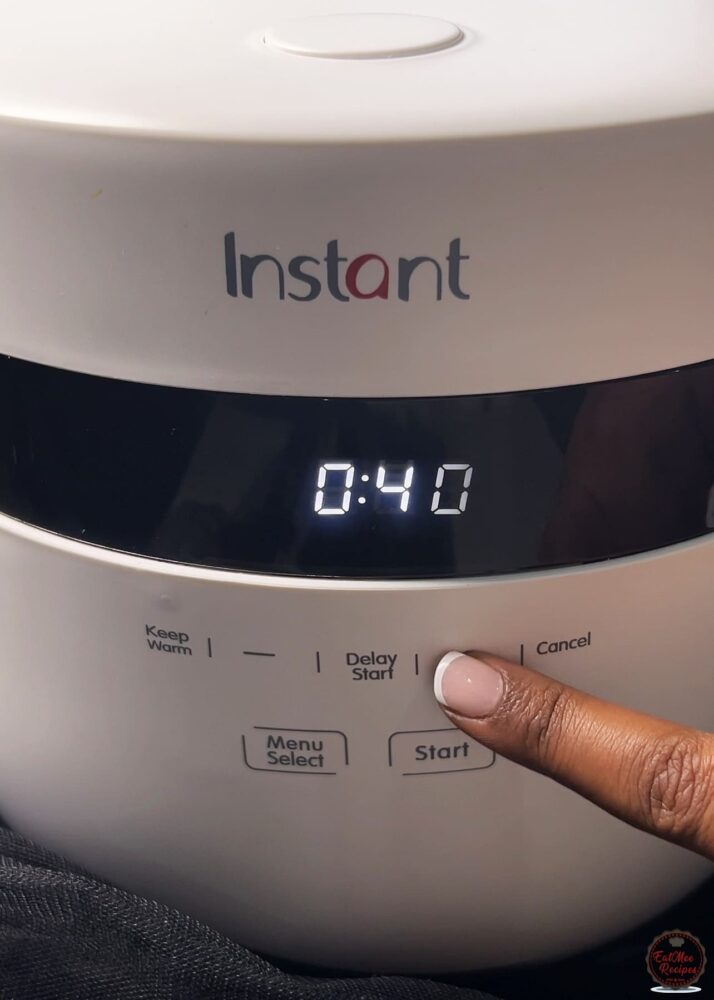
Then press “start” and patiently wait for the perfect steamed bread. Do not open the lid as this will stop the bread from rising and steaming properly.
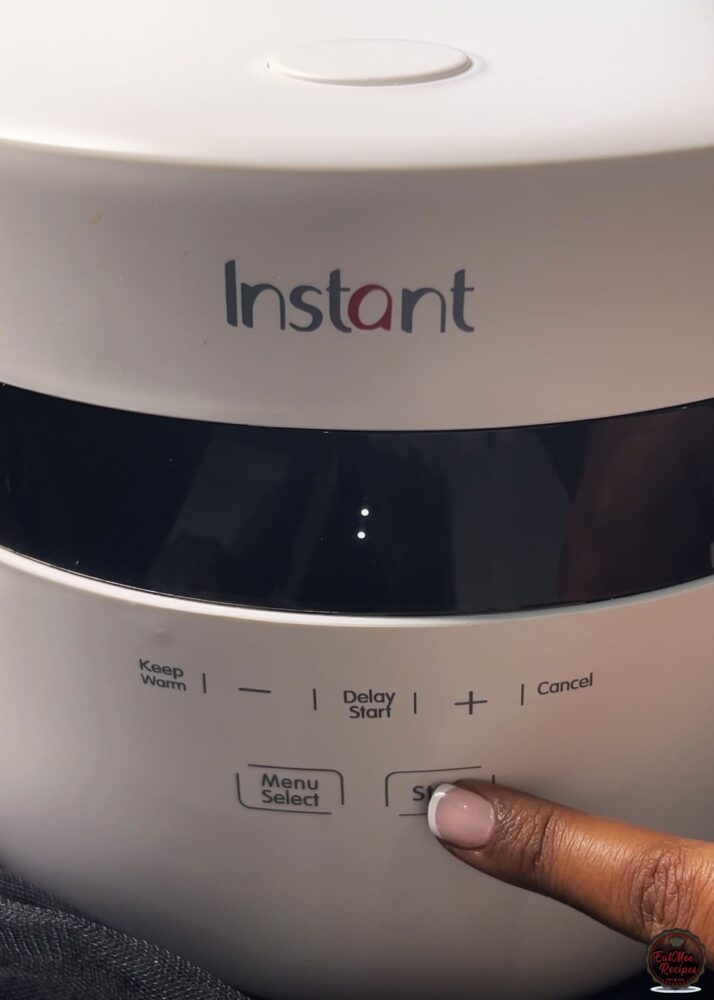
Once the timer is done at 40 minutes, do not press anything. It will automatically stop steaming and switch to “keep warm” mode. Allow it to stay on keep warm for 5 minutes.
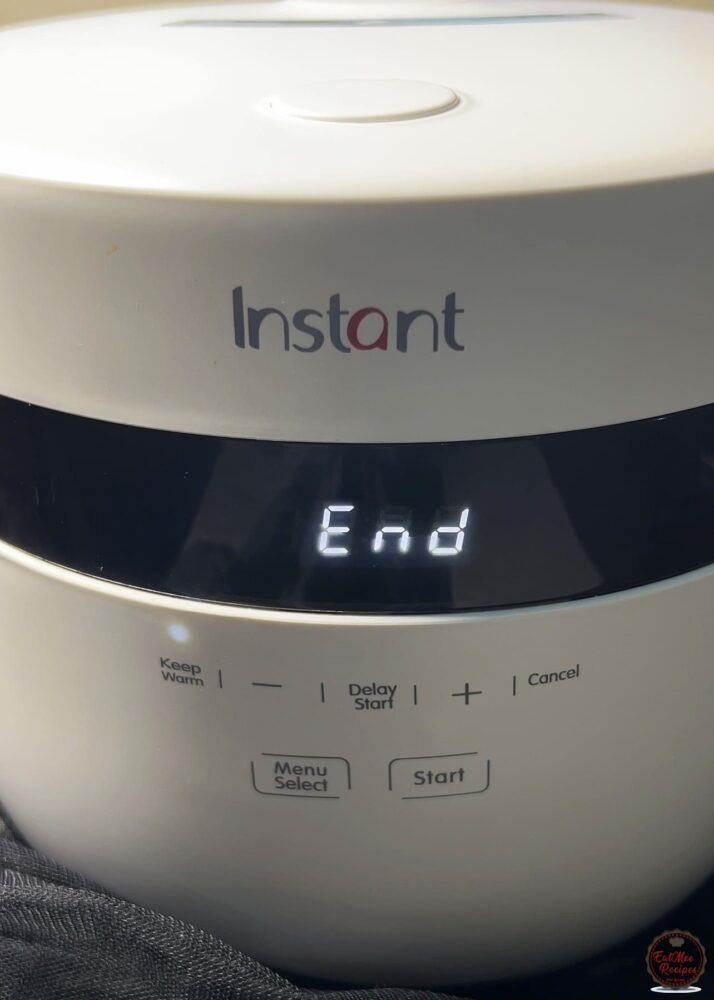
After 5 minutes on keep warm, press “cancel” and open the lid.
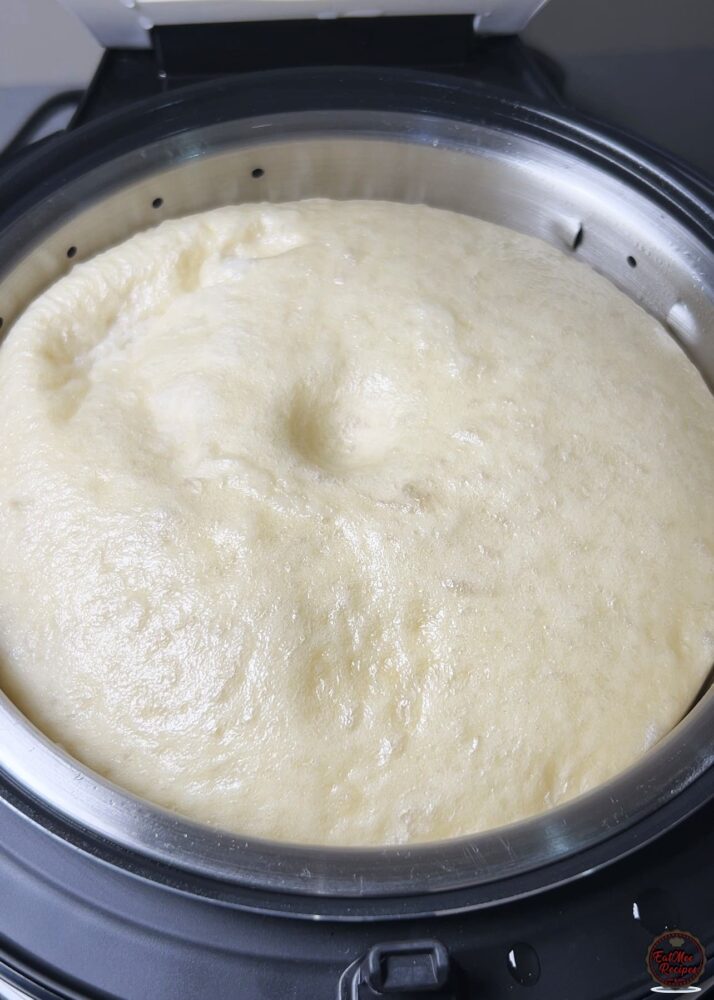
Stick a cake tester or skewer in the bread, if it comes out clean then the bread is fully cooked.
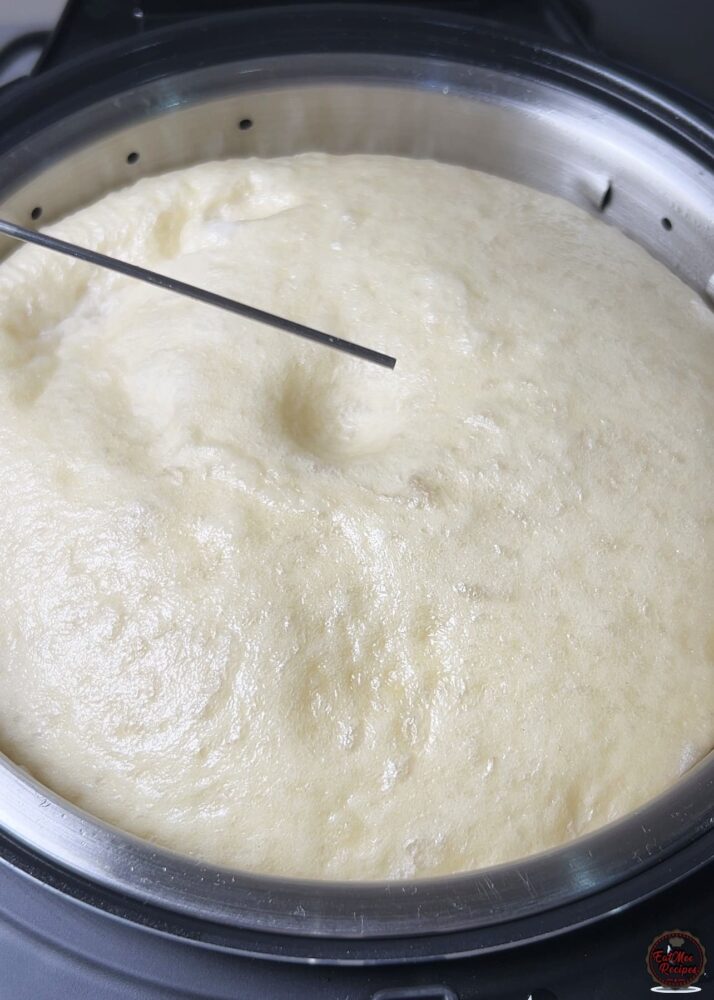
You will also know the bread is done, when you press your hands on it and it springs back.
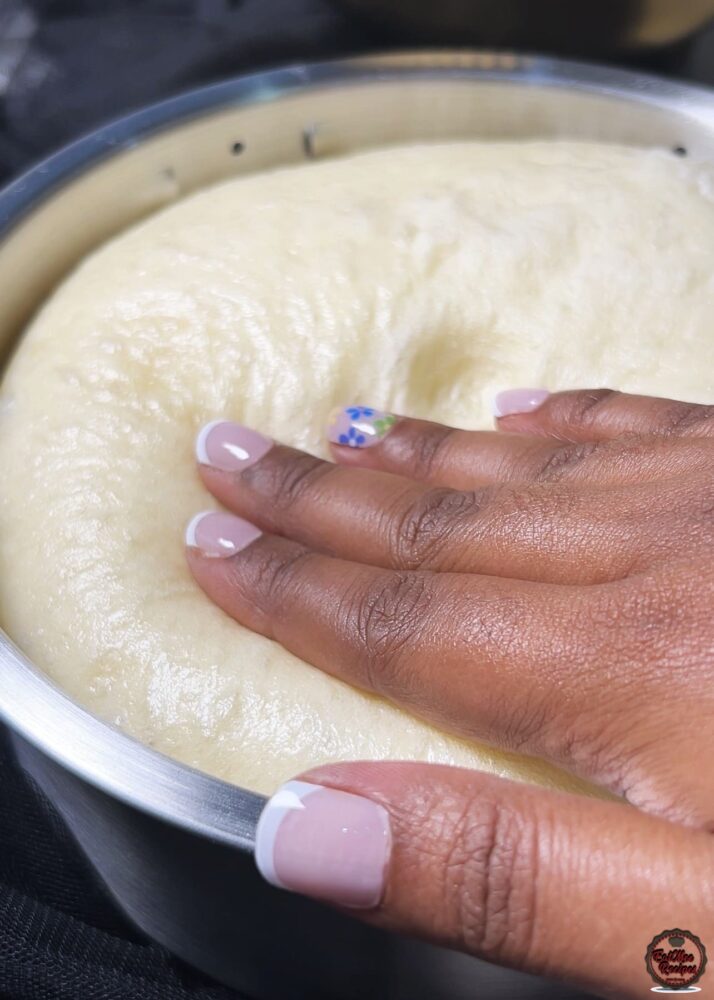
Unfortunately the top won’t be as smooth because there will be an indent in the middle from the rice cooker lid as well as wherever residual water hit on the bread when you opened the lid.
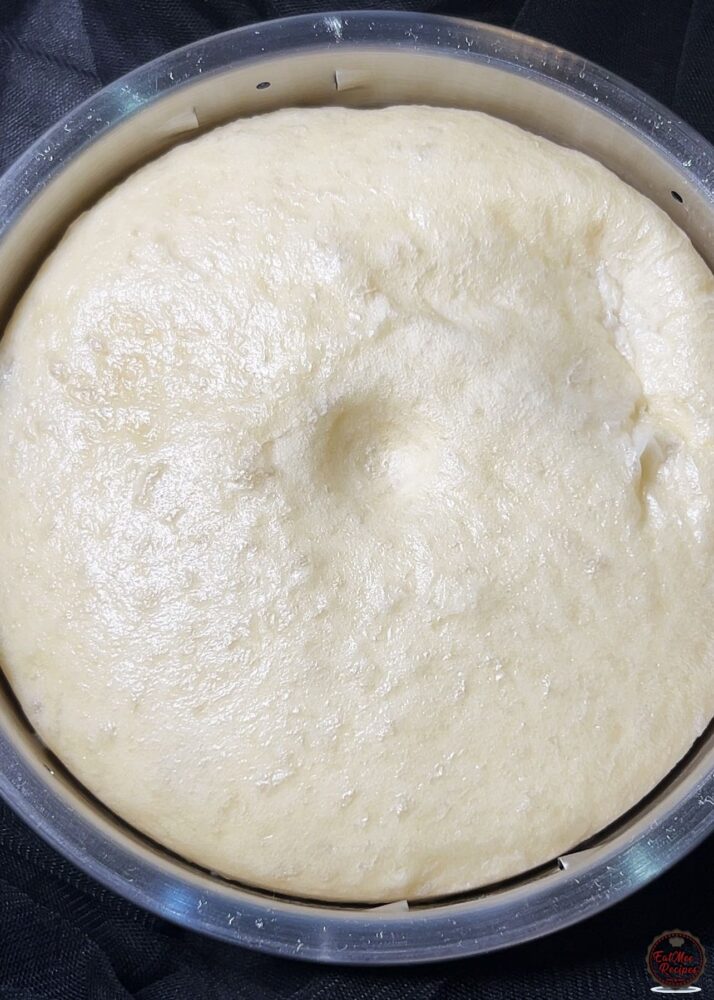
Carefully remove the strainer basket, be careful as it is hot and remember we removed the handles so it could accommodate for the bread. So you may need to gently lift the basket up using a butter knife and then carry it out using mittens or dish towels. Flip the basket upside down – I placed a board over the basket and the carefully flipped it over.
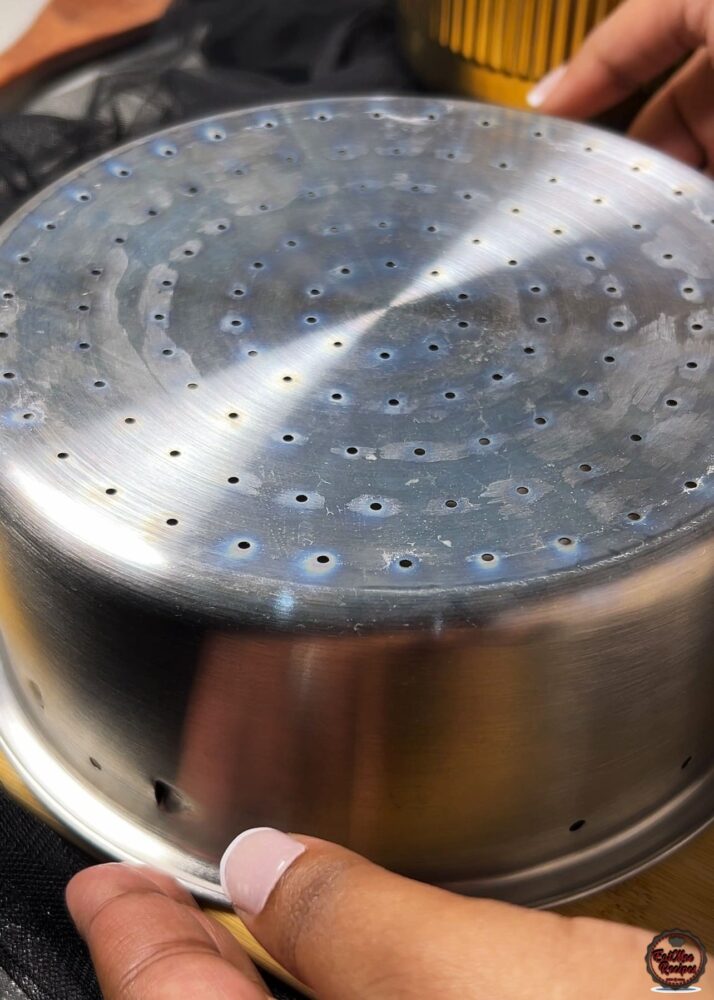
Remove the strainer basket to reveal the bread then carefully pull away the liner.
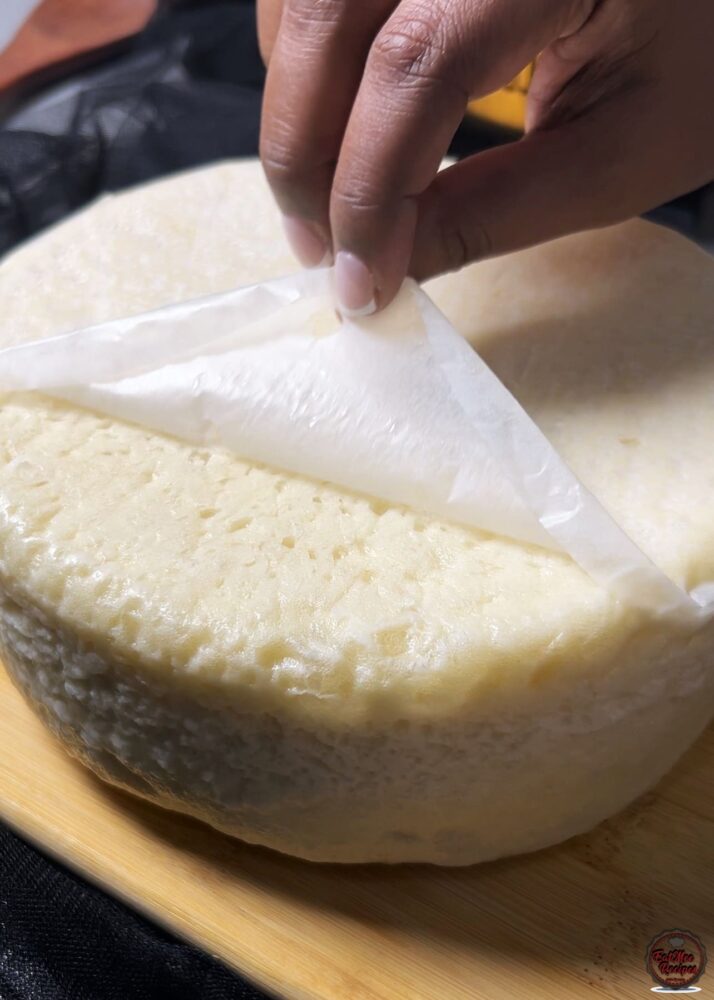
Allow the bread to cool completely before slicing into it.
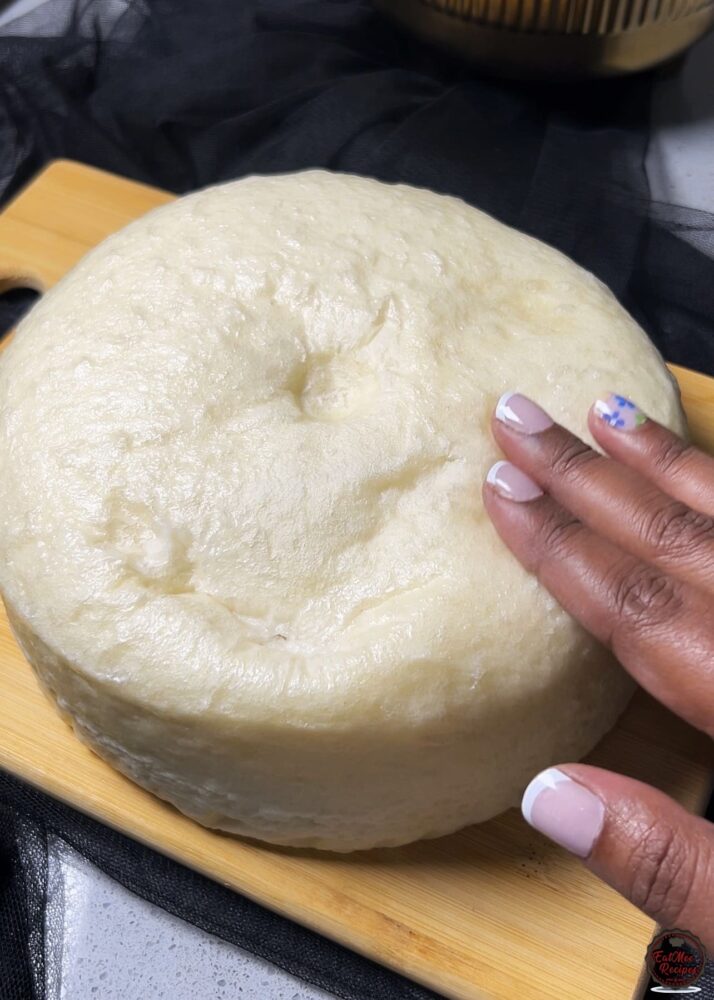
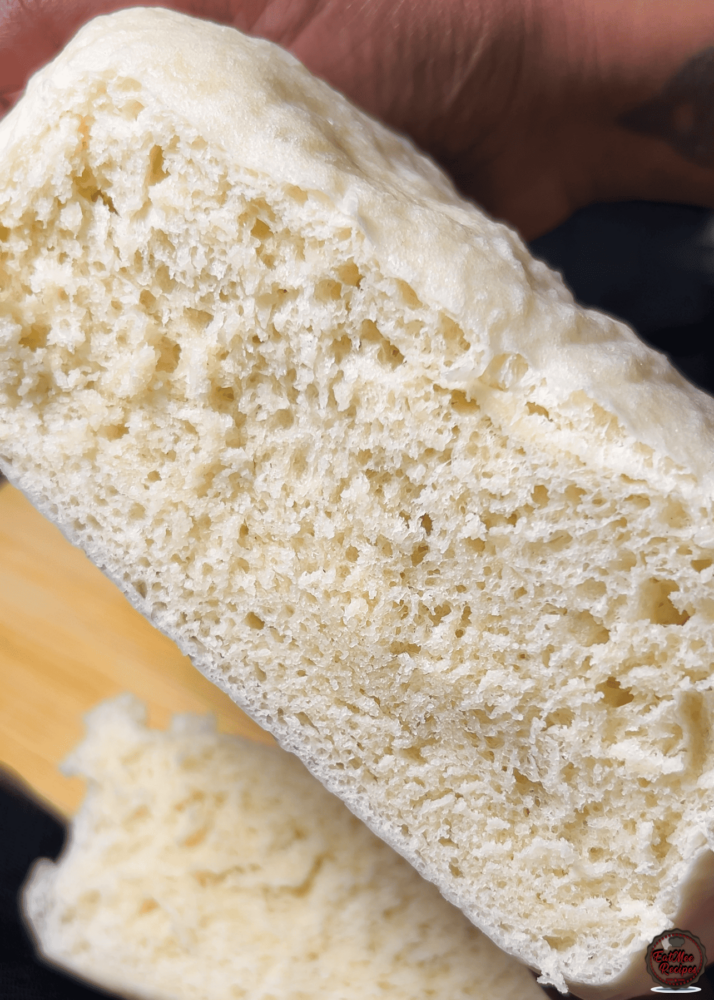
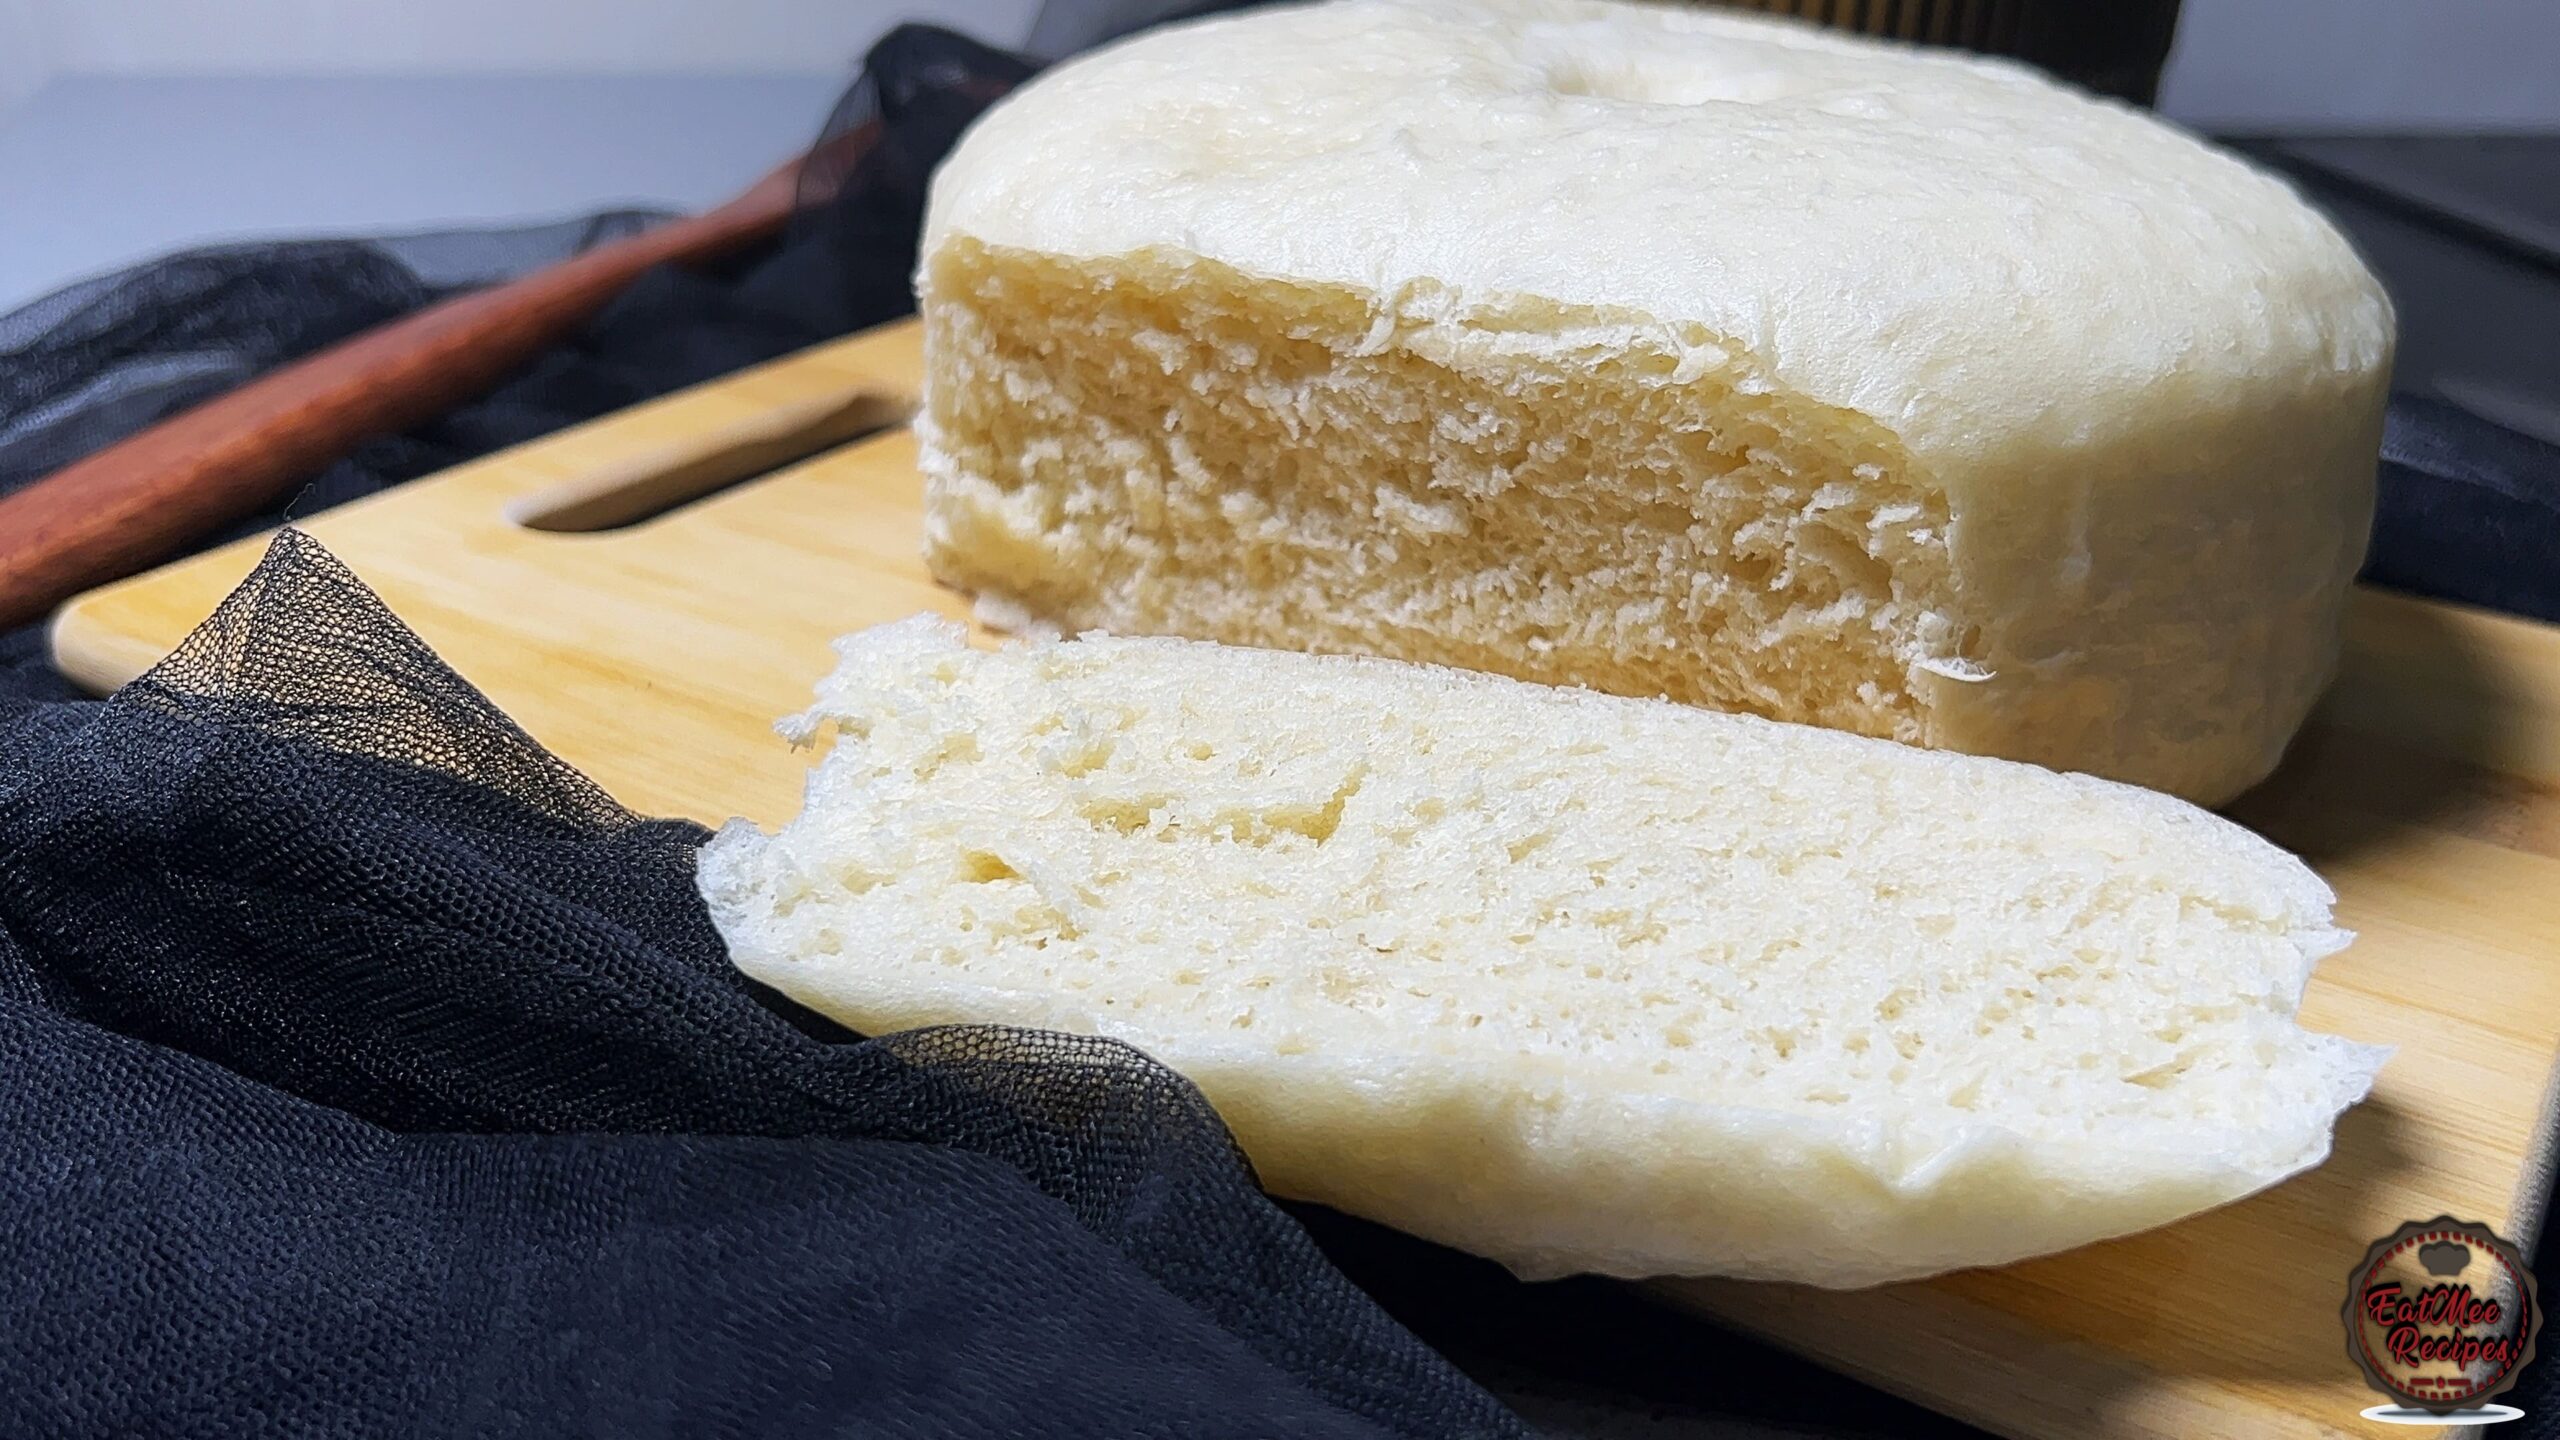
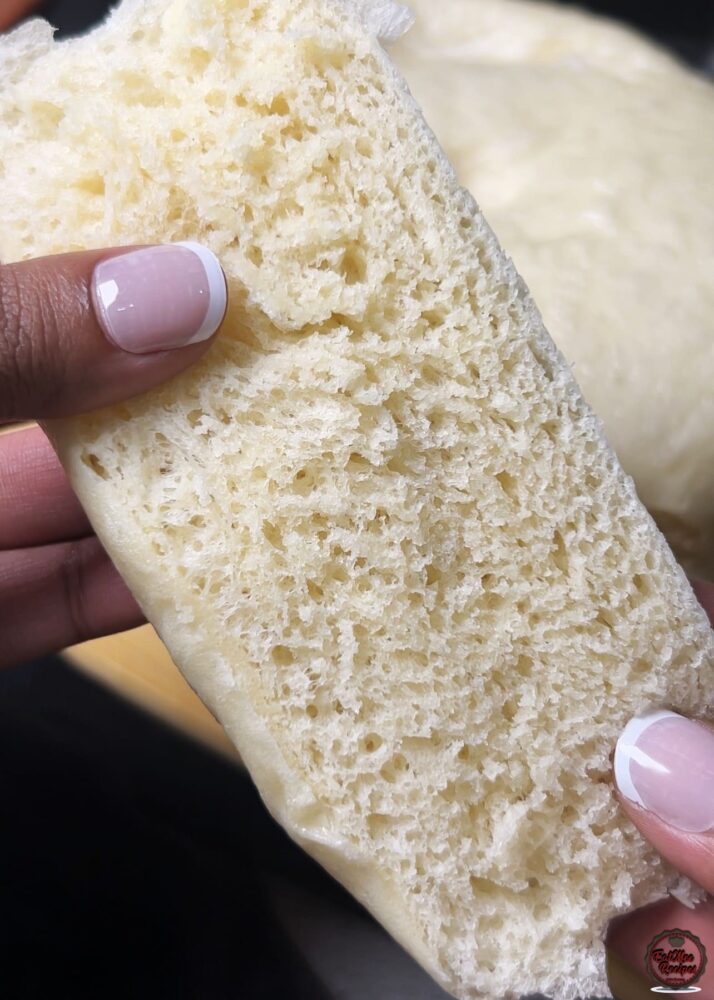
This steamed bread is so soft and pillowy, with a its light, smooth surface and sides.
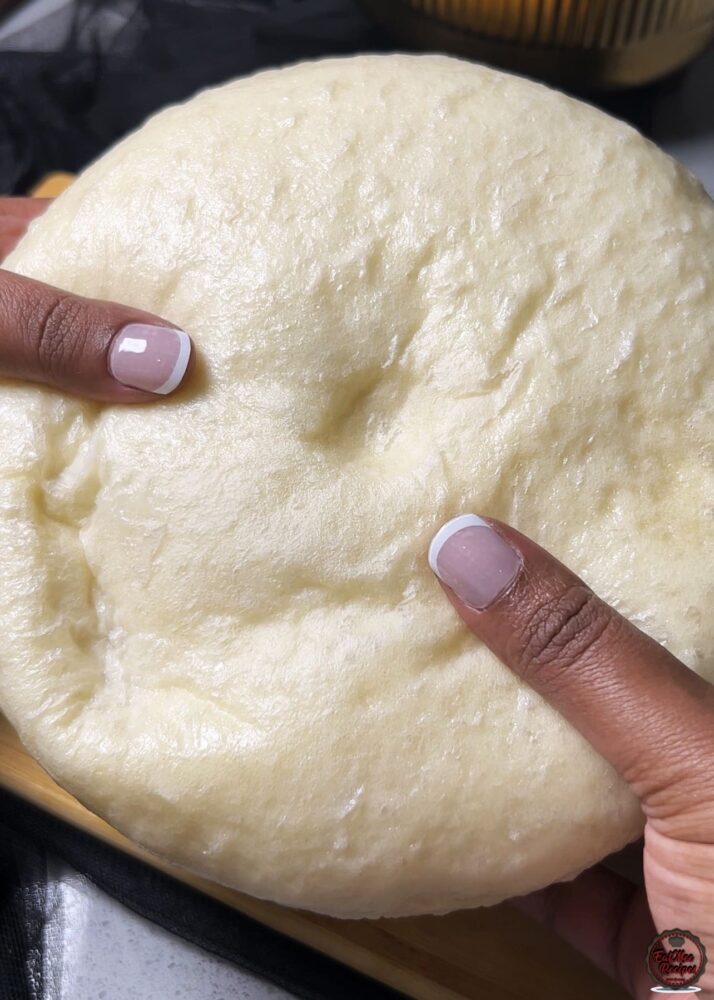
Once cooled, slice into it to reveal how airy and soft the insides are.
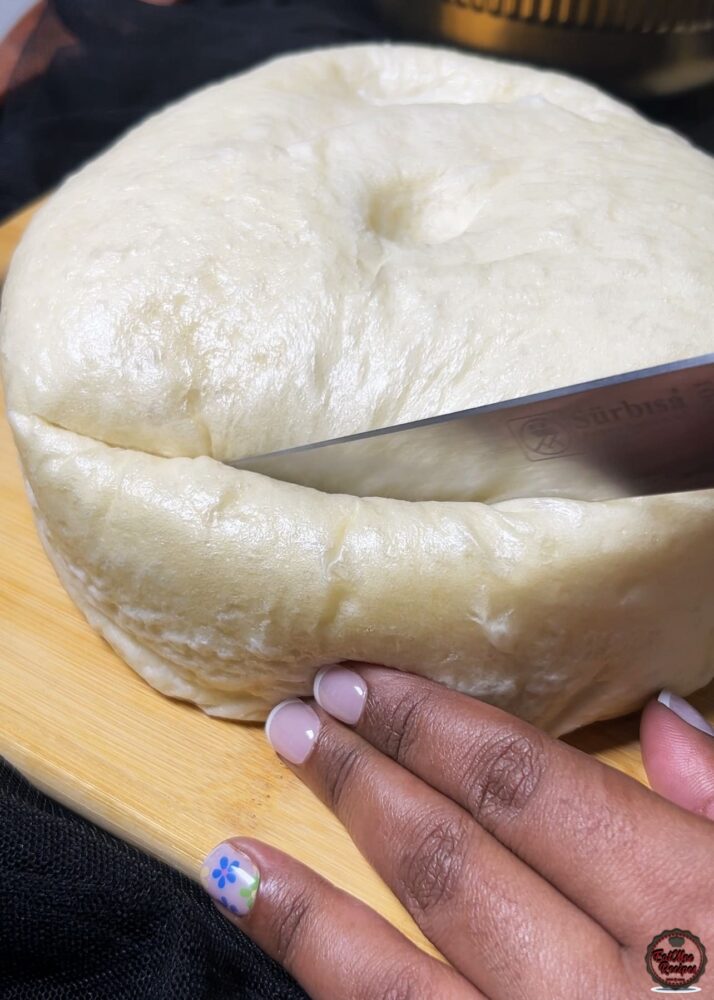
This Steamed Bread (uJeqe) is really donw to perfection in the rice cooker. No stovetop hassles ever again!
I like to serve it with a thick slather of butter or have it dunked into my curries to soak up all the gravy.